
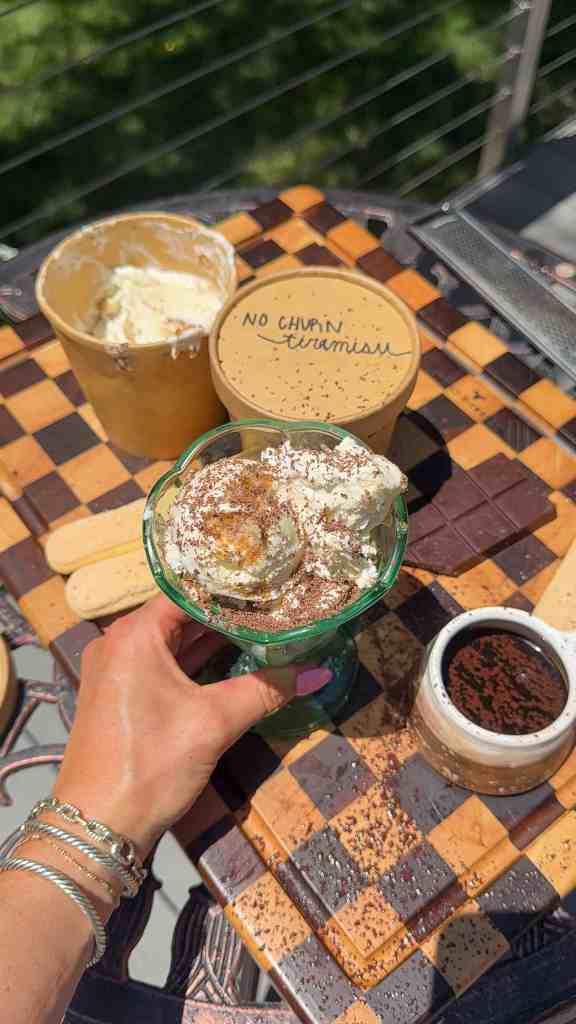
If you love tiramisu, this one is FOR YOU. It is two of my favorite desserts rolled into one, creamy dreamy tiramisu meeting soft-scoop ice cream, and it is officially joining the summer ice cream series. We are talking coffee-soaked ladyfingers, the silkiest mascarpone cream, and grated dark chocolate all layered into pint containers and frozen until perfectly scoopable. The BEST part? No churning, no ice cream maker, no fuss.
I have been making this on repeat all summer and I cannot get over how easy it is. You whip, you fold, you layer, you freeze. That is it. And because there are SO many fillings tucked inside, it stretches way further than you would think. This recipe makes 3 full pints, which means plenty to keep and plenty to share (or not, no judgment here).
It tastes like the fancy tiramisu you order at a restaurant, except it lives in your freezer and you get to scoop it whenever the craving hits. Coffee lovers, this is your moment.
P.S. If you want those bakery-clean layers, freeze your pint containers for about 10 minutes before you start building. A cold container helps the first layer set up faster so everything stacks beautifully.
Ingredients Needed
- Cold Heavy Whipping Cream: This is what gives the ice cream its light, fluffy, scoopable texture without any churning at all. Make sure it is straight-from-the-fridge cold, because cold cream whips up taller and holds those soft peaks so much better. Whipping in all that air is what keeps the final ice cream soft instead of icy. Do not swap for half and half here, you really need the full fat.
- Mascarpone Cheese: The heart and soul of that classic tiramisu flavor. Mascarpone is rich, creamy, and just a touch sweet, and it gives the base that luxurious melt-in-your-mouth quality. It folds into the cream beautifully as long as you do not overmix it. Let it sit out for a few minutes so it softens before you start.
- Sweetened Condensed Milk: This is the no-churn magic worker. It sweetens the base and keeps the texture soft and scoopable even after hours in the freezer thanks to all that sugar. It also adds a gorgeous creamy body so every bite feels rich. Use the full 14 oz can, do not skimp.
- Vanilla Extract: A little warmth and roundness in the background that ties all the flavors together. It softens the tang of the mascarpone and makes the whole base taste cozy and dessert-like. Pure vanilla is always worth it here. Just a teaspoon does the trick.
- Salt: Do not skip it, even in a sweet recipe. A little salt sharpens the coffee, lifts the chocolate, and keeps the whole thing from tasting flat. It balances all that sweetness from the condensed milk. Half a teaspoon is the sweet spot.
- Ladyfingers: The signature tiramisu element and the layer that brings all the texture. They soak up the coffee and turn soft and cakey, giving you those dreamy ribbons running through the ice cream. I cut mine in half so they layer in neatly. Look for the crisp Italian Savoiardi style for the best soak.
- Strongly Brewed Coffee or Espresso: This is where all that bold tiramisu flavor comes from. You want it STRONG and fully cooled so it does not melt your ice cream base. The ladyfingers drink it right up and carry that coffee flavor through every layer. Espresso gives the deepest flavor, but strong brewed coffee works wonderfully too.
- Kahlua: Totally optional, but it adds that grown-up tiramisu depth if you want it. Just a tablespoon stirred into the coffee gives a subtle warmth without being boozy. Leave it out completely for a family-friendly version and you will not miss a thing. The coffee carries plenty of flavor on its own.
- Dark Chocolate: For grating over every layer, just like the cocoa dusting on classic tiramisu. It adds little pockets of bittersweet richness that play perfectly against the creamy base. Grate it fresh for the prettiest finish. A good quality bar makes all the difference.
Substitutions and Modifications
- Swap the Kahlua for coffee liqueur, dark rum, or simply leave it out for an alcohol-free version
- Use decaf espresso if you are sensitive to caffeine, the flavor still comes through
- Cocoa powder works in place of grated chocolate if that is what you have on hand
- Gluten-free ladyfingers make this celiac friendly without changing the method
- A splash of almond or hazelnut extract is lovely in place of, or alongside, the vanilla
Why You’ll Love This Recipe
- No ice cream maker required, just a mixer and a little patience while it freezes
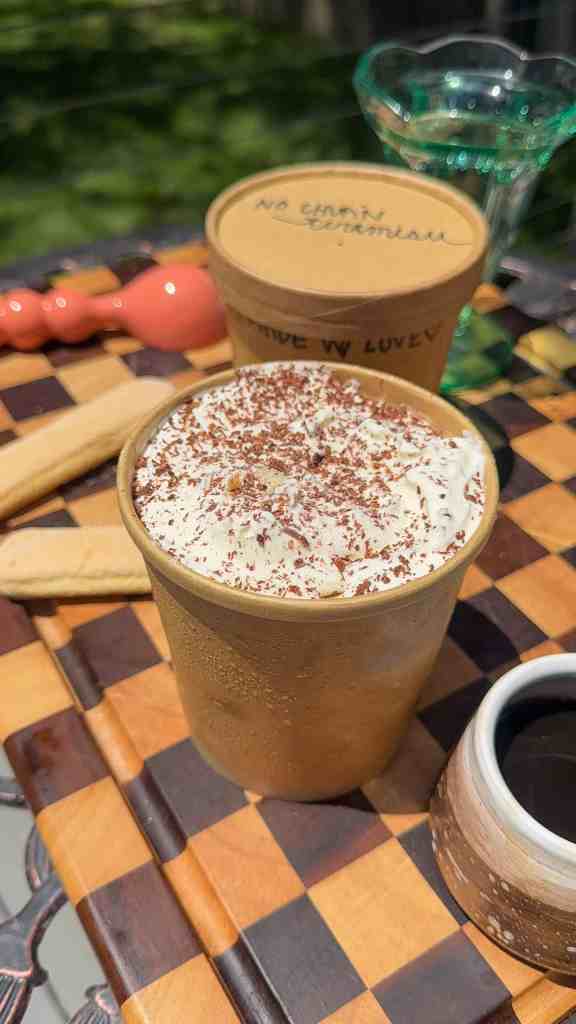
- Makes 3 full pints, so you have plenty to stash away or gift to friends
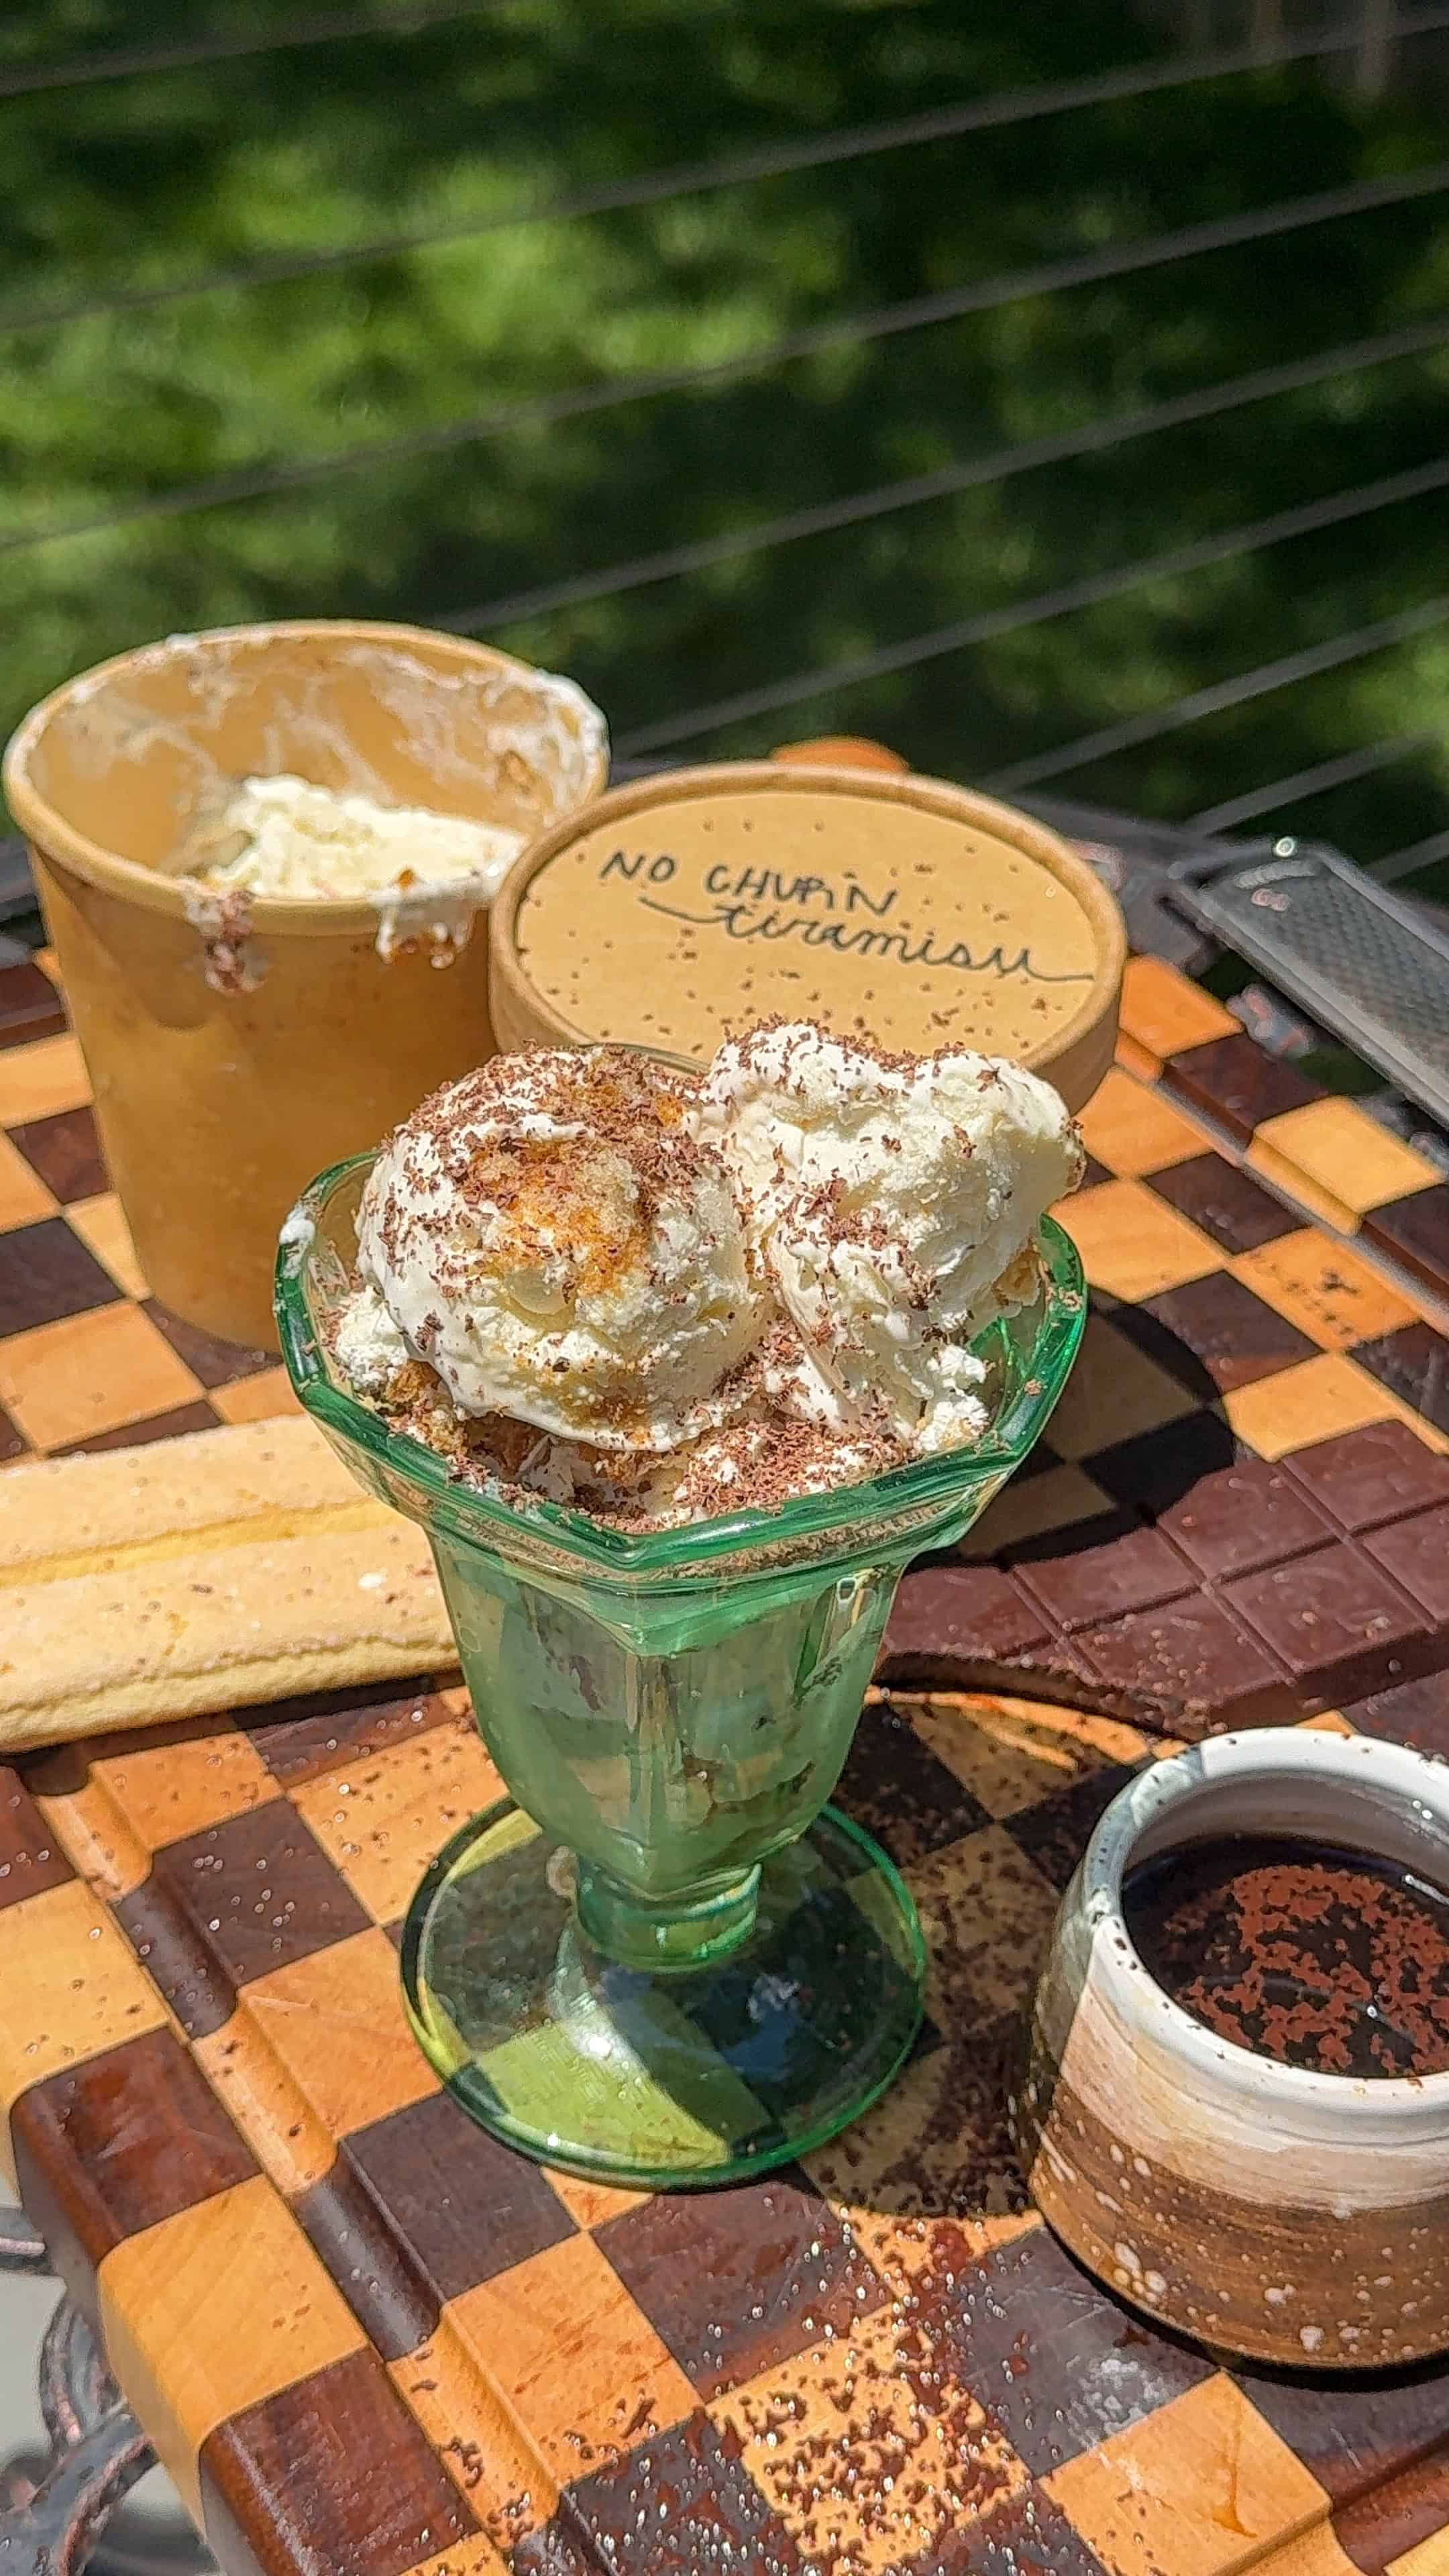
- Tastes like real-deal tiramisu with that dreamy coffee and mascarpone flavor in every scoop
Equipment Needed
- Stand mixer (or hand mixer with a large bowl)
- Two mixing bowls
- Rubber spatula
- Shallow dish for soaking the ladyfingers
- Fine grater or microplane
- 3 pint containers with lids
No-Churn Tiramisu Ice Cream (No Machine Needed)
Ingredients
- 2 cups cold heavy whipping cream
- 1 container 8 oz mascarpone cheese
- 1 can 14 oz sweetened condensed milk
- 1 teaspoon vanilla extract
- ½ teaspoon salt
- 15 ladyfingers cut in half
- 4 oz strongly brewed coffee or espresso cooled
- 1 tablespoon Kahlua optional
- 1 oz dark chocolate for grating
Instructions
- Whip the cream. In a stand mixer, whip the cold heavy cream on high speed until it is light, fluffy, and holds soft peaks. Transfer the whipped cream to a separate bowl and set it aside.
- Beat the mascarpone base. In that same mixer bowl, lightly beat together the mascarpone cheese and the sweetened condensed milk. Go easy here, you do not want to overmix or the mascarpone will split.
- Fold it together. Slowly add the whipped cream back into the mascarpone mixture. Add the vanilla and the salt, and mix just until completely combined. Again, do not overmix.
- Soak the ladyfingers. Stir the Kahlua, if using, into the coffee or espresso. Dip each ladyfinger for just a few seconds per side. You want them soaked but not falling apart. I cut mine in half so they layer in nicely.
- Layer your pints. Grab 3 pint containers. Into each one, add about 1/3 of the ice cream mixture to the bottom, lay in a layer of the soaked, halved ladyfingers, then grate dark chocolate over the top. Repeat the layers, dividing everything evenly between the three pints.
- Freeze. Cover and freeze until firm and scoopable, at least 4 to 6 hours, though overnight is best.
Storage Instructions
- Counter: This is an ice cream, so it should not sit out. Let it soften on the counter for just 5 to 10 minutes before scooping, then return it to the freezer right away.
- Fridge: Not recommended for storage, as it will melt. If it softens too much, pop it back in the freezer rather than the fridge.
- Freezer: Store covered in the freezer for up to 2 weeks for the best texture and flavor. Press a piece of parchment against the surface to help prevent ice crystals.
Tips and Tricks
- Do not overmix the mascarpone. It is worth saying twice, gentle is the move so it stays smooth and does not split.
- Soak, do not drench. A few seconds per side keeps the ladyfingers from turning to mush.
- Make it pretty. Finish each pint with an extra dusting of grated dark chocolate before freezing.
- Cold containers help. Chill your empty pint containers for 10 minutes before layering for cleaner, faster-setting layers.
Frequently Asked Questions
Do I need an ice cream maker for this recipe?
Nope, not at all. The whipped cream and sweetened condensed milk do all the work, giving you a soft, scoopable texture with zero churning.
Can I make this without alcohol?
Absolutely. Just leave out the Kahlua. The strong coffee carries all that classic tiramisu flavor on its own, so it is perfect for the whole family.
Why did my mascarpone turn grainy?
That almost always means it was overmixed. Beat it just until combined with the condensed milk, then fold gently, and it will stay smooth and creamy.
How long does it need to freeze?
At least 4 to 6 hours so it firms up enough to scoop, but overnight gives you the very best texture.
Can I use regular coffee instead of espresso?
Yes, just make sure it is brewed nice and strong and fully cooled before you soak the ladyfingers. Strong coffee gives you that bold tiramisu flavor.
What kind of ladyfingers should I buy?
Look for the crisp Italian Savoiardi style. They hold up best to soaking and give you that signature cakey tiramisu layer.
Do you LOVE Ice Cream?! Check Out MORE of my Favs:
The Best Homemade Brown Butter Cookie Dough Ice Cream (with Salted Caramel)
Smores Ice Cream Cake – The Ultimate Frozen Summer Dessert
Biscoff Ice Cream Sandwiches Recipe
Tag Me When You Make It
That is it, my loves, three dreamy pints of tiramisu ice cream waiting in your freezer. If you make this one, you HAVE to tag me so I can see your beautiful layers. Find me @munchiesbymallory on Instagram and TikTok and show me your scoops. Happy freezing, and enjoy every single bite






Leave a Reply Cancel reply