You get the best of both worlds 🎶—cue the Hannah Montana theme song!
These
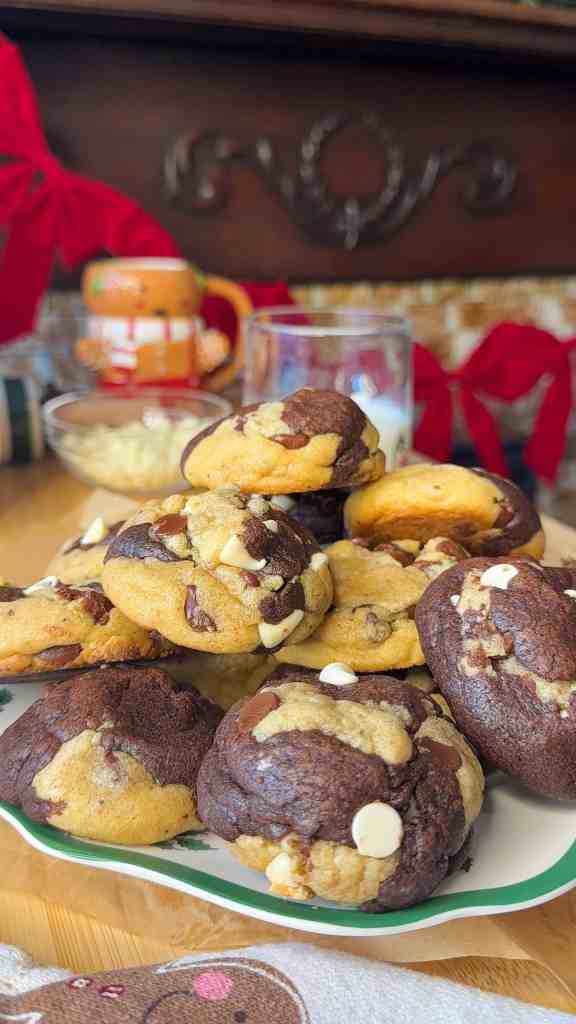
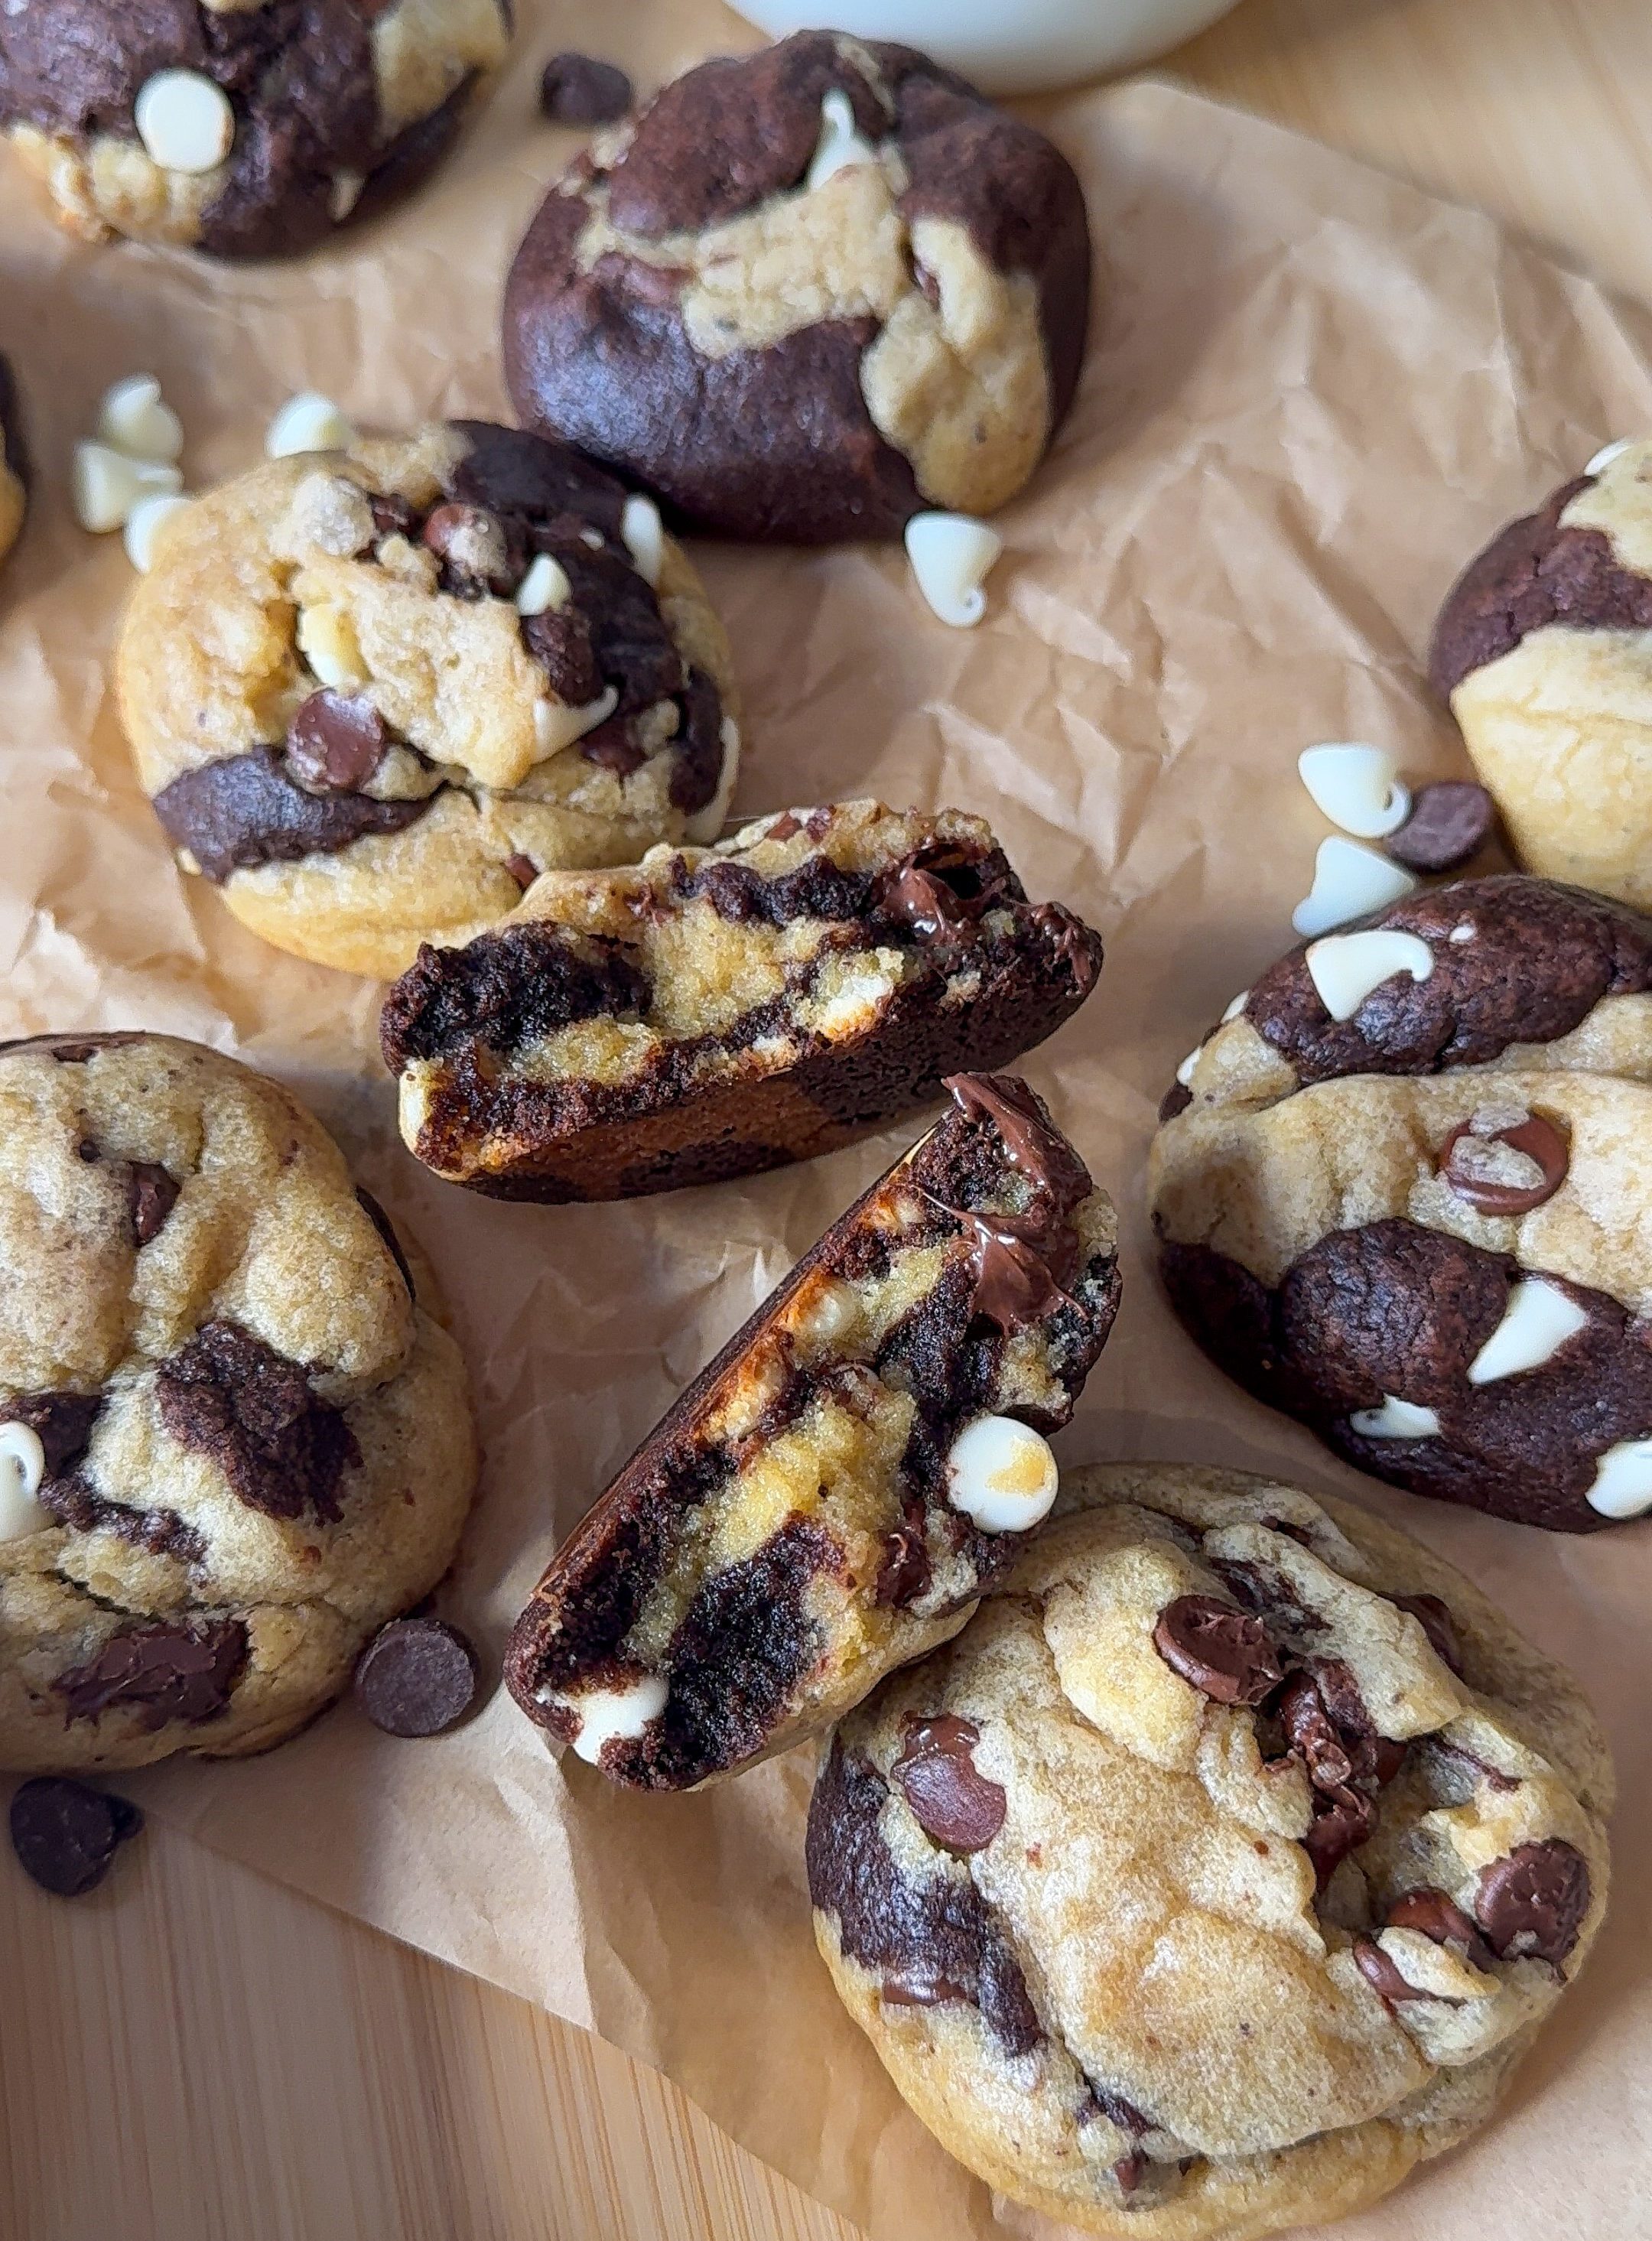
Brown Butter Marbled Cookies
are the ultimate treat for indecisive cookie lovers
. Can’t pick between a classic chocolate chip or a rich, brownie-like chocolate cookie? No problem—you get BOTH swirled into one magical bite. It’s a fun, delicious twist on my classic brown butter chocolate chip cookies, but these beauties are as much a feast for the eyes as they are for your taste buds.
Oh, and the inspo? My two adorable dachshunds, Bagel and Brodie. Brodie is black (he’s all about that chocolate life), and Bagel is white (sweet vanilla vibes). Just like these cookies, they’re a perfect pair. 🐾 So, grab your cookie scoop and get ready to bake something cute, delicious, and totally Instagram-worthy. Trust me, these are a must-make!
Ingredients:
Unsalted Butter: Butter is the foundation of many cookie recipes, and in this one, it brings both flavor and texture. The cold unsalted butter is used to create the brown butter, which adds that nutty, rich flavor to the dough. By starting with cold butter, you ensure it browns evenly without the risk of separating or burning too quickly, giving your marbled sugar cookies the perfect texture.
Brown Sugar: Brown sugar brings moisture and richness to the dough. The molasses in brown sugar provides a deeper, almost caramel-like flavor that pairs perfectly with the nutty taste of brown butter. It also helps the cookies spread more evenly and results in a soft, chewy texture. The extra moisture from brown sugar prevents your swirl cookies from being too dry.
Granulated Sugar: Granulated sugar adds sweetness and helps the cookies to crisp up around the edges. It’s essential for balancing the richness of the brown sugar and the butter, creating a harmonious sweetness in each bite. Granulated sugar also contributes to the cookies’ overall texture by helping with the spreading during baking.
Egg: Eggs are the structural support in cookie dough. The whole egg adds moisture, fat, and helps bind the ingredients together, making sure the dough stays together when mixed and baked. It also contributes to the cookies’ soft, chewy texture and slightly puffed shape.
Egg Yolks: Egg yolks are rich in fat, which helps create a more tender, soft texture in the cookies. Using two egg yolks instead of just one increases the richness and gives a more velvety feel. This helps to balance the slight crispiness you get from the granulated sugar, creating a melt-in-your-mouth experience with each bite.
Vanilla Extract: Vanilla extract enhances the overall flavor of the cookies, adding a warm, aromatic note that complements the brown butter and chocolate. It balances out the richness of the other ingredients and provides that comforting, familiar taste that makes cookies feel extra special.
All Purpose Flour: Flour is the structural backbone of your cookies. It provides the base for the dough and gives the cookies their shape and consistency. The two types of flour (one for regular chocolate chip and one for the chocolate dough) create a base that works with the butter and eggs to form the perfect texture—soft and chewy on the inside, with just a little crispness on the edges. Dividing the flour helps to keep the two doughs distinct, leading to that gorgeous marbled effect
Cocoa Powder: Cocoa powder adds the rich, deep chocolate flavor to one half of the dough. It’s essential for creating the brownie--like texture and taste in the marbled cookies. Without it, you wouldn’t get that intense chocolatey vibe that pairs so beautifully with the white chocolate chips.
Baking Soda: Baking soda is the leavening agent that helps the cookies rise slightly as they bake, giving them a chewy texture without being too dense. It also helps with browning, which is especially important when using brown butter because it enhances the rich flavor and golden color of the cookies.
Salt: Salt is a flavor enhancer, and even though cookies are sweet, salt is critical to balancing that sweetness. It helps bring out the complexity of the brown butter and chocolate, making each bite more flavorful. It also helps the dough come together by binding with the flour and other dry ingredients.
Cornstarch (optional): Cornstarch is optional, but it helps create a slightly softer, more tender texture in the cookies. It prevents them from spreading too much and makes them chewy without being overly dense. If you want a more perfect-textured cookie, cornstarch is a game changer!
Semi-Sweet Chocolate Chips: The semi-sweet chocolate chips are essential for the classic chocolate chip dough. Their slightly bitter, but still sweet, taste complements the sweetness of the brown sugar and vanilla. They also provide little pockets of melty chocolate in every bite, giving the cookies a rich, chocolatey flavor.
White Chocolate Chips: White chocolate chips add a touch of sweetness and a creamy texture, making them the perfect counterbalance to the darker semi-sweet chocolate. They provide the second layer of flavor in the marbled dough, making sure that each bite offers a mix of different chocolate experiences. The white chocolate also adds a pretty contrast when baked, helping the cookies look even more beautiful.
What is Brown Butter?
Brown butter, aka liquid gold, is regular butter taken to the next level. It’s like butter decided to get dressed up for a fancy party. When you melt butter and let it cook a little longer, the milk solids toast and turn golden brown, giving the butter this nutty, caramel-like flavor that’s chef’s kiss perfection. It’s the secret ingredient that makes cookies taste extra rich, cakes taste gourmet, and even veggies feel special.
How to Make Brown Butter


Brown Butter Marbled Cookies Recipe
Ingredients
Brown Butter Base
- 1 cup cold unsalted butter
- 1 ¼ cups brown sugar
- ⅓ cup granulated sugar
Wet Ingredients
- 1 egg
- 2 egg yolks
- 1 tablespoon vanilla extract
Dry Ingredients
- 2 ⅛ cups flour divided: 1 1/8 cup + 1 cup
- ¼ cup cocoa powder
- 1 teaspoon baking soda divided
- ½ teaspoon salt divided
- ½ teaspoon cornstarch optional, divided
Mix-Ins
- ½ cup semi-sweet chocolate chips
- ½ cup white chocolate chips
Instructions
- In a saucepan over medium-low heat, melt your butter. Keep going until it turns a dreamy golden-brown color and smells nutty and delicious. (Pro tip: Don’t walk away! Burnt butter = sad baker.) Once it’s ready, take it off the heat and let it cool for 5–10 minutes.
- In a big ol’ mixing bowl, stir together your cooled brown butter, brown sugar, and granulated sugar. Whip it until it’s smooth and smells like cookie heaven. Add in your egg, egg yolks, and vanilla extract, then mix until creamy.
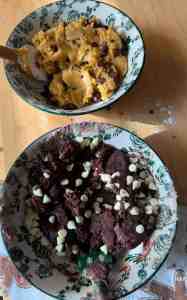
- Grab TWO bowls for your dry ingredients.
- For the classic chocolate chip dough:
- Mix 1 1/8 cup flour, 1/2 teaspoon baking soda, 1/4 teaspoon salt, and (optional) 1/4 teaspoon cornstarch.
- For the chocolate dough:
- Mix 1 cup flour, 1/4 cup cocoa powder, and the remaining amounts of baking soda, salt, and cornstarch.
- Divide your wet batter evenly between the two bowls. Stir until each dough is combined. Fold in the semi-sweet chips for the classic mix and the white chocolate chips for the chocolate mix.
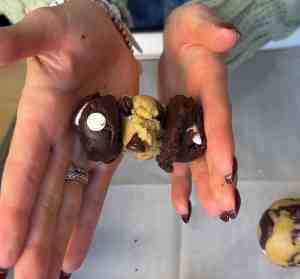
- Now for the fun part! Using a 1-tablespoon cookie scoop, scoop dough from each bowl. To get that gorgeous marbled look, combine:
- classic + 2 chocolate
- classic + 1 chocolate
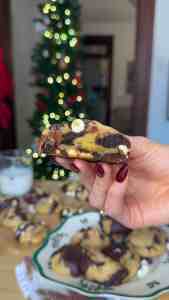
- Squish the scoops together into a ball, then break it in half and smush it back together. This is your secret to Insta-worthy marbled cookies.
- Cover your dough balls and chill them in the fridge for at least 30 minutes (or up to 24 hours if you’ve got patience).
- While the dough chills, preheat your oven to 350°F.
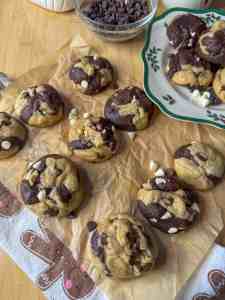
- Pop the cookie dough balls onto a lined baking sheet, spacing them out because they like to spread. Bake for 10–12 minutes until the edges are golden but the centers still look slightly underdone (trust the process!).
- Sprinkle those warm marbled cookies with flakey sea salt. It’s optional, but it turns your cookies from “yummy” to “WOW.” Let them cool on the sheet for a few minutes, then transfer to a wire rack.
Video
Nutrition
Here are some tips and tricks to make your Brown Butter Marbled Cookies even more amazing:
1. Don’t Rush the Brown Butter!
The key to getting that rich, nutty flavor is in the brown butter. Take your time melting it over medium-low heat, and keep stirring occasionally. Watch for that golden-brown color and nutty smell—it’s a total game changer for flavor. And remember, let it cool a bit before adding it to the sugar mixture to avoid scrambling your eggs!
2. Use Cold Butter to Brown It
I know, I know—it’s called “cold butter,” and we’re melting it, but hear me out. Using cold butter ensures it browns at the right pace, creating that perfect, nutty flavor. If the butter is too warm when you start, it may separate too quickly and burn, and nobody wants burnt butter in their cookies.
3. Chill Your Dough
Don’t skip this step! Chilling the marbled cookie dough for at least 30 minutes (or up to 24 hours) helps the cookies maintain their shape and prevents them from spreading too much. Plus, the flavors meld together better after some time in the fridge. Bonus points for making the dough ahead of time and baking them fresh!
4. Create a Perfect Marble Effect
For that chef’s kiss marbled look, grab a cookie scoop (about 1 tablespoon), and alternate between the regular chocolate chip dough and the brownie dough. Then, gently press the scoops together, break them in half, and squish them again. This way, you get a perfect mix of both flavors in each cookie.
5. Mixing Dough: Don’t Overmix!
When combining the dry ingredients with the wet, mix just until everything is incorporated. Overmixing will lead to tougher cookies, and we want soft, chewy perfection, not bricks!
6. Use High-Quality Chocolate Chips
The chocolate is so important here! Using good-quality chocolate chips, like Ghirardelli or any premium brand, really enhances the flavor of your cookies. The better the chocolate, the better your marbled cookies will taste!
Storage Instructions
- Room Temp: Store the marbled cookies in an airtight container for up to 3 days.
- Fridge: If you need the marbled cookies to last longer, pop them in the fridge for up to a week, but let’s be real—they won’t make it that long.
- Freezer: Freeze the baked cookies or raw dough balls for up to 3 months. Perfect for cookie emergencies (which are totally a thing).
- Reheat: For that fresh-baked vibe, warm your cookie in the microwave for 10–15 seconds or pop it in a 350°F oven for a couple of minutes.
More of my recipes
Do you LOVE Cookies?! Check out More of my AMAZING Cookie Recipes:
- The Absolute Best Brown Butter Chocolate Chip Cookies (With VIDEO)
- Christmas Crack Chocolate Chip Cookies Recipe
- Biscoff White Chocolate Cookies Recipe
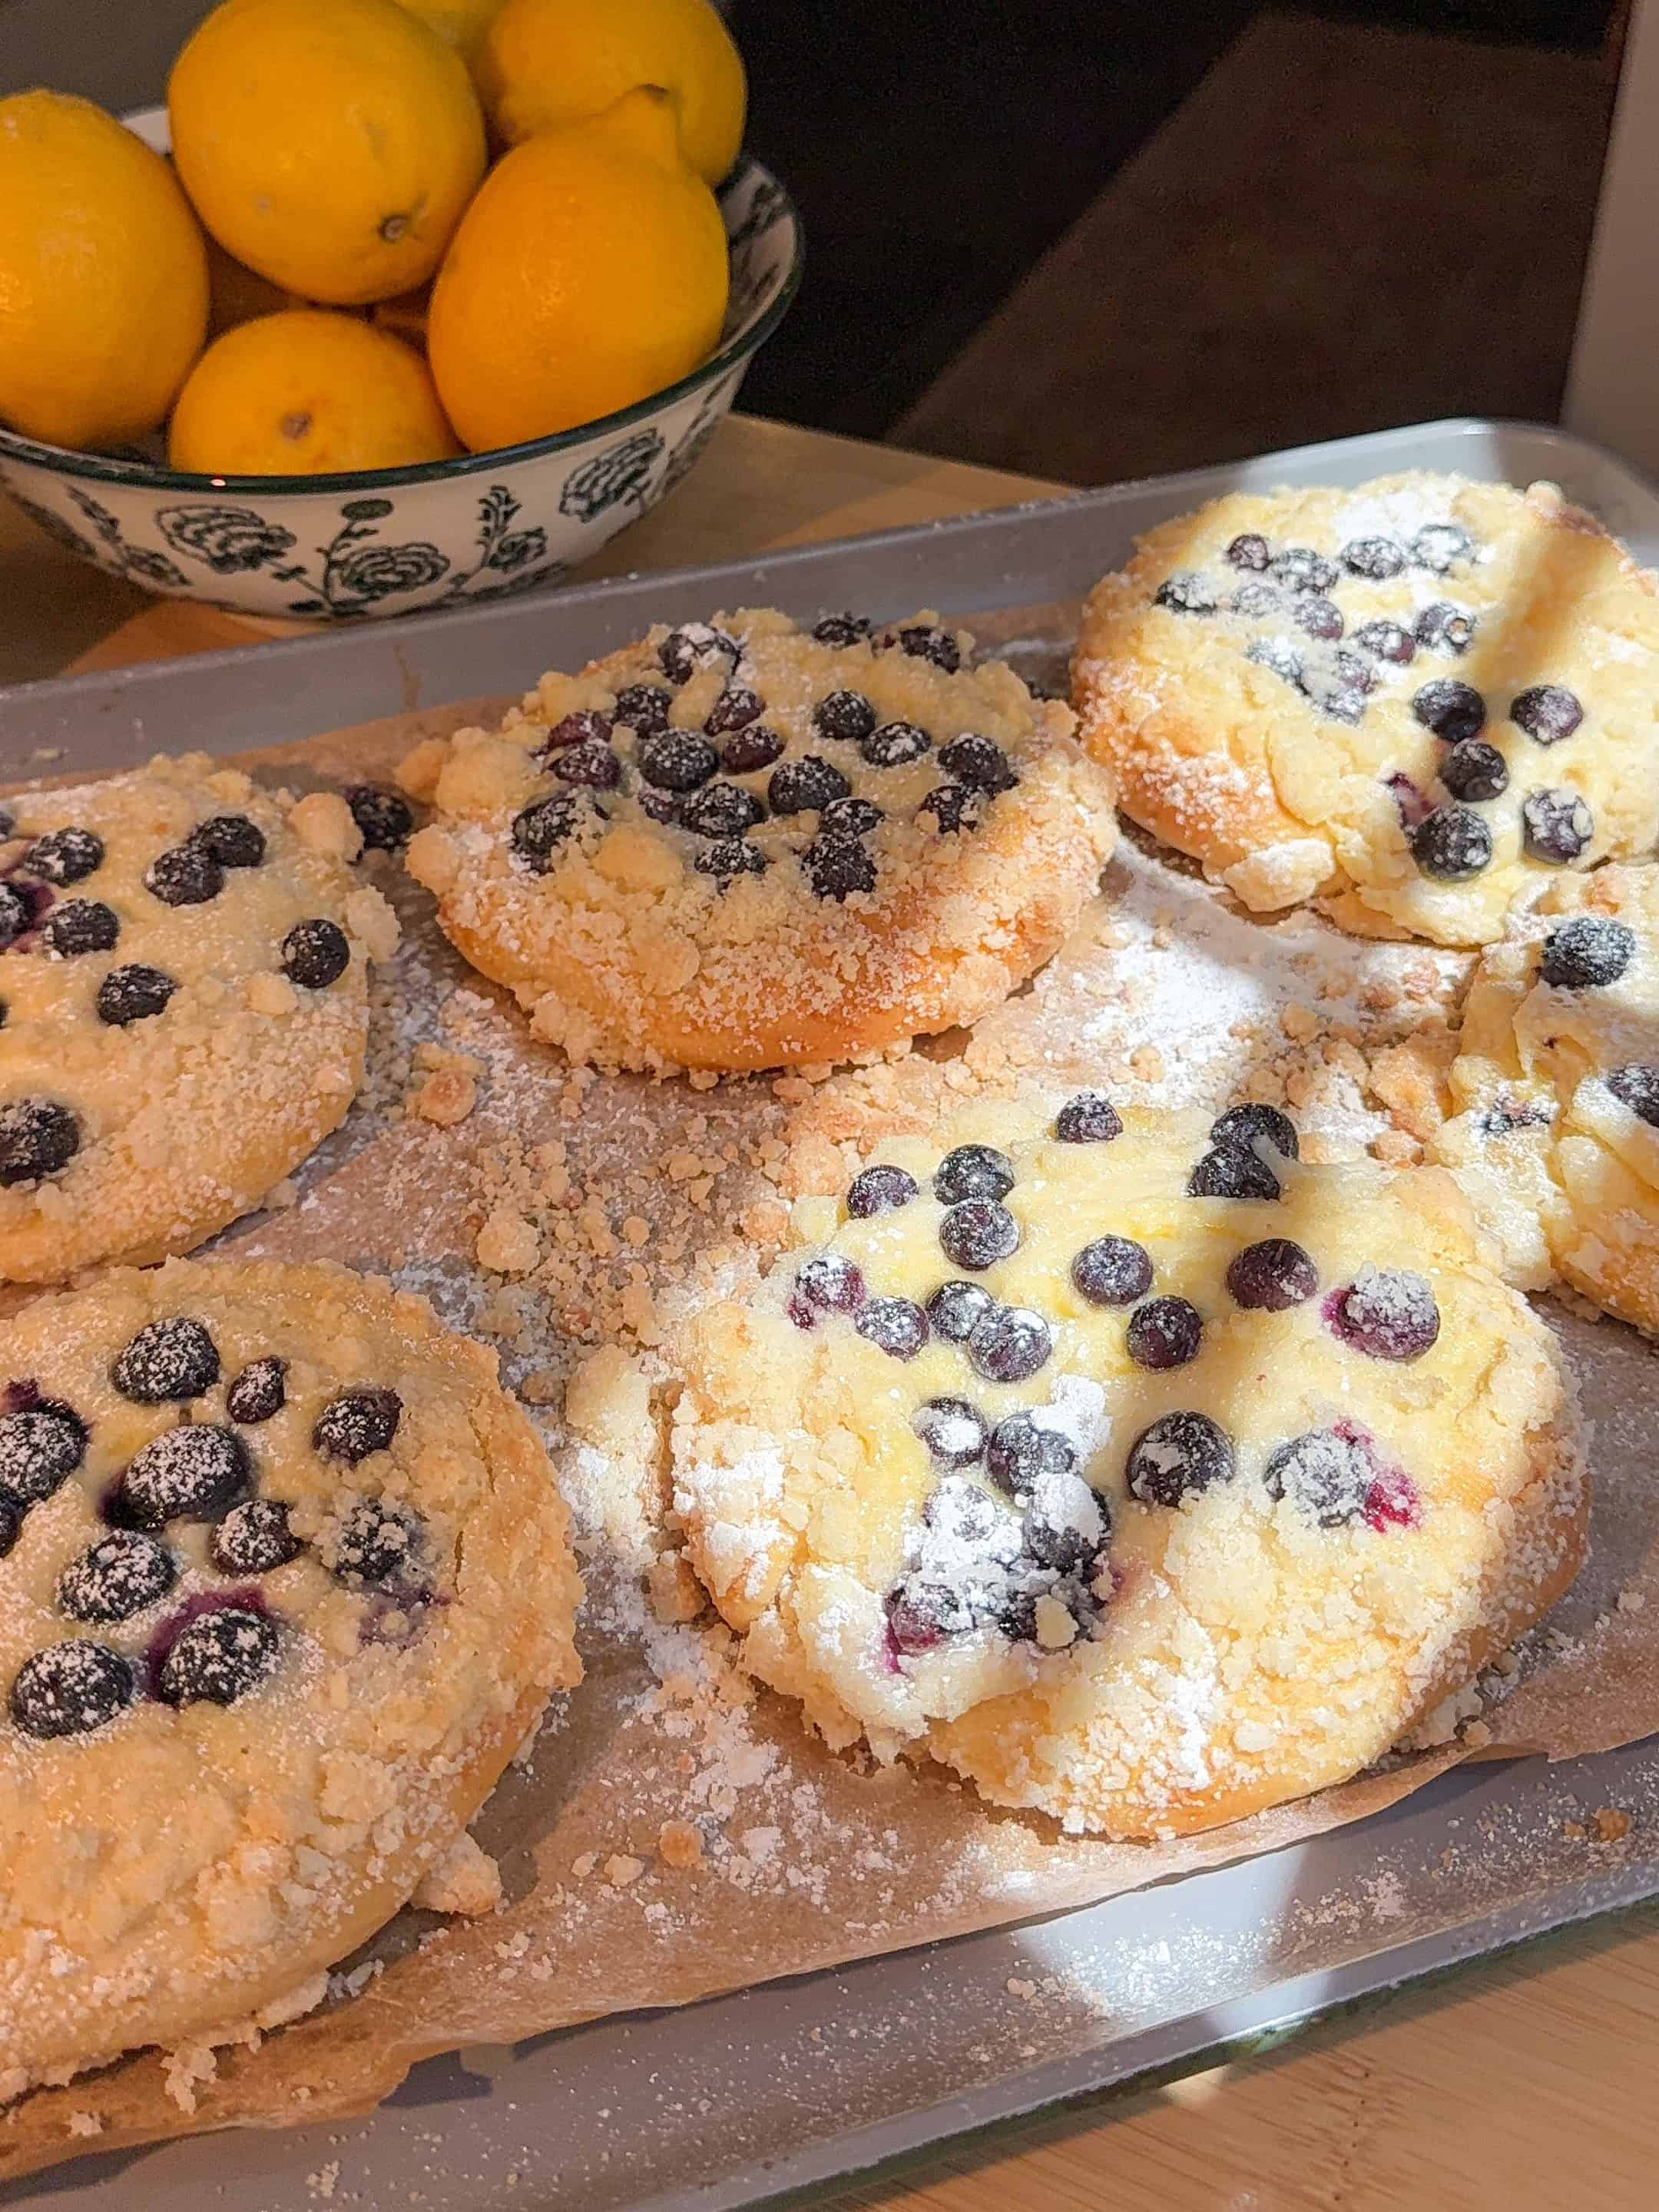
- The Best Ever Blueberry Crumble Muffin Cookies Recipe (with VIDEO)
Conclusion
If you’re a cookie lover (and I know you are), you have to try these Brown Butter Marbled Cookies. They’re pretty, delicious, and just plain fun to make. Plus, you’ll get major brownie points from friends and family when you share them.
So, what are you waiting for? Get that butter browning, snap a pic of your cookie masterpiece, and tag me @munchiesbymallory. I want to see your marbled magic! Let’s bake the world a sweeter place. 🥰🍪


Leave a Reply Cancel reply