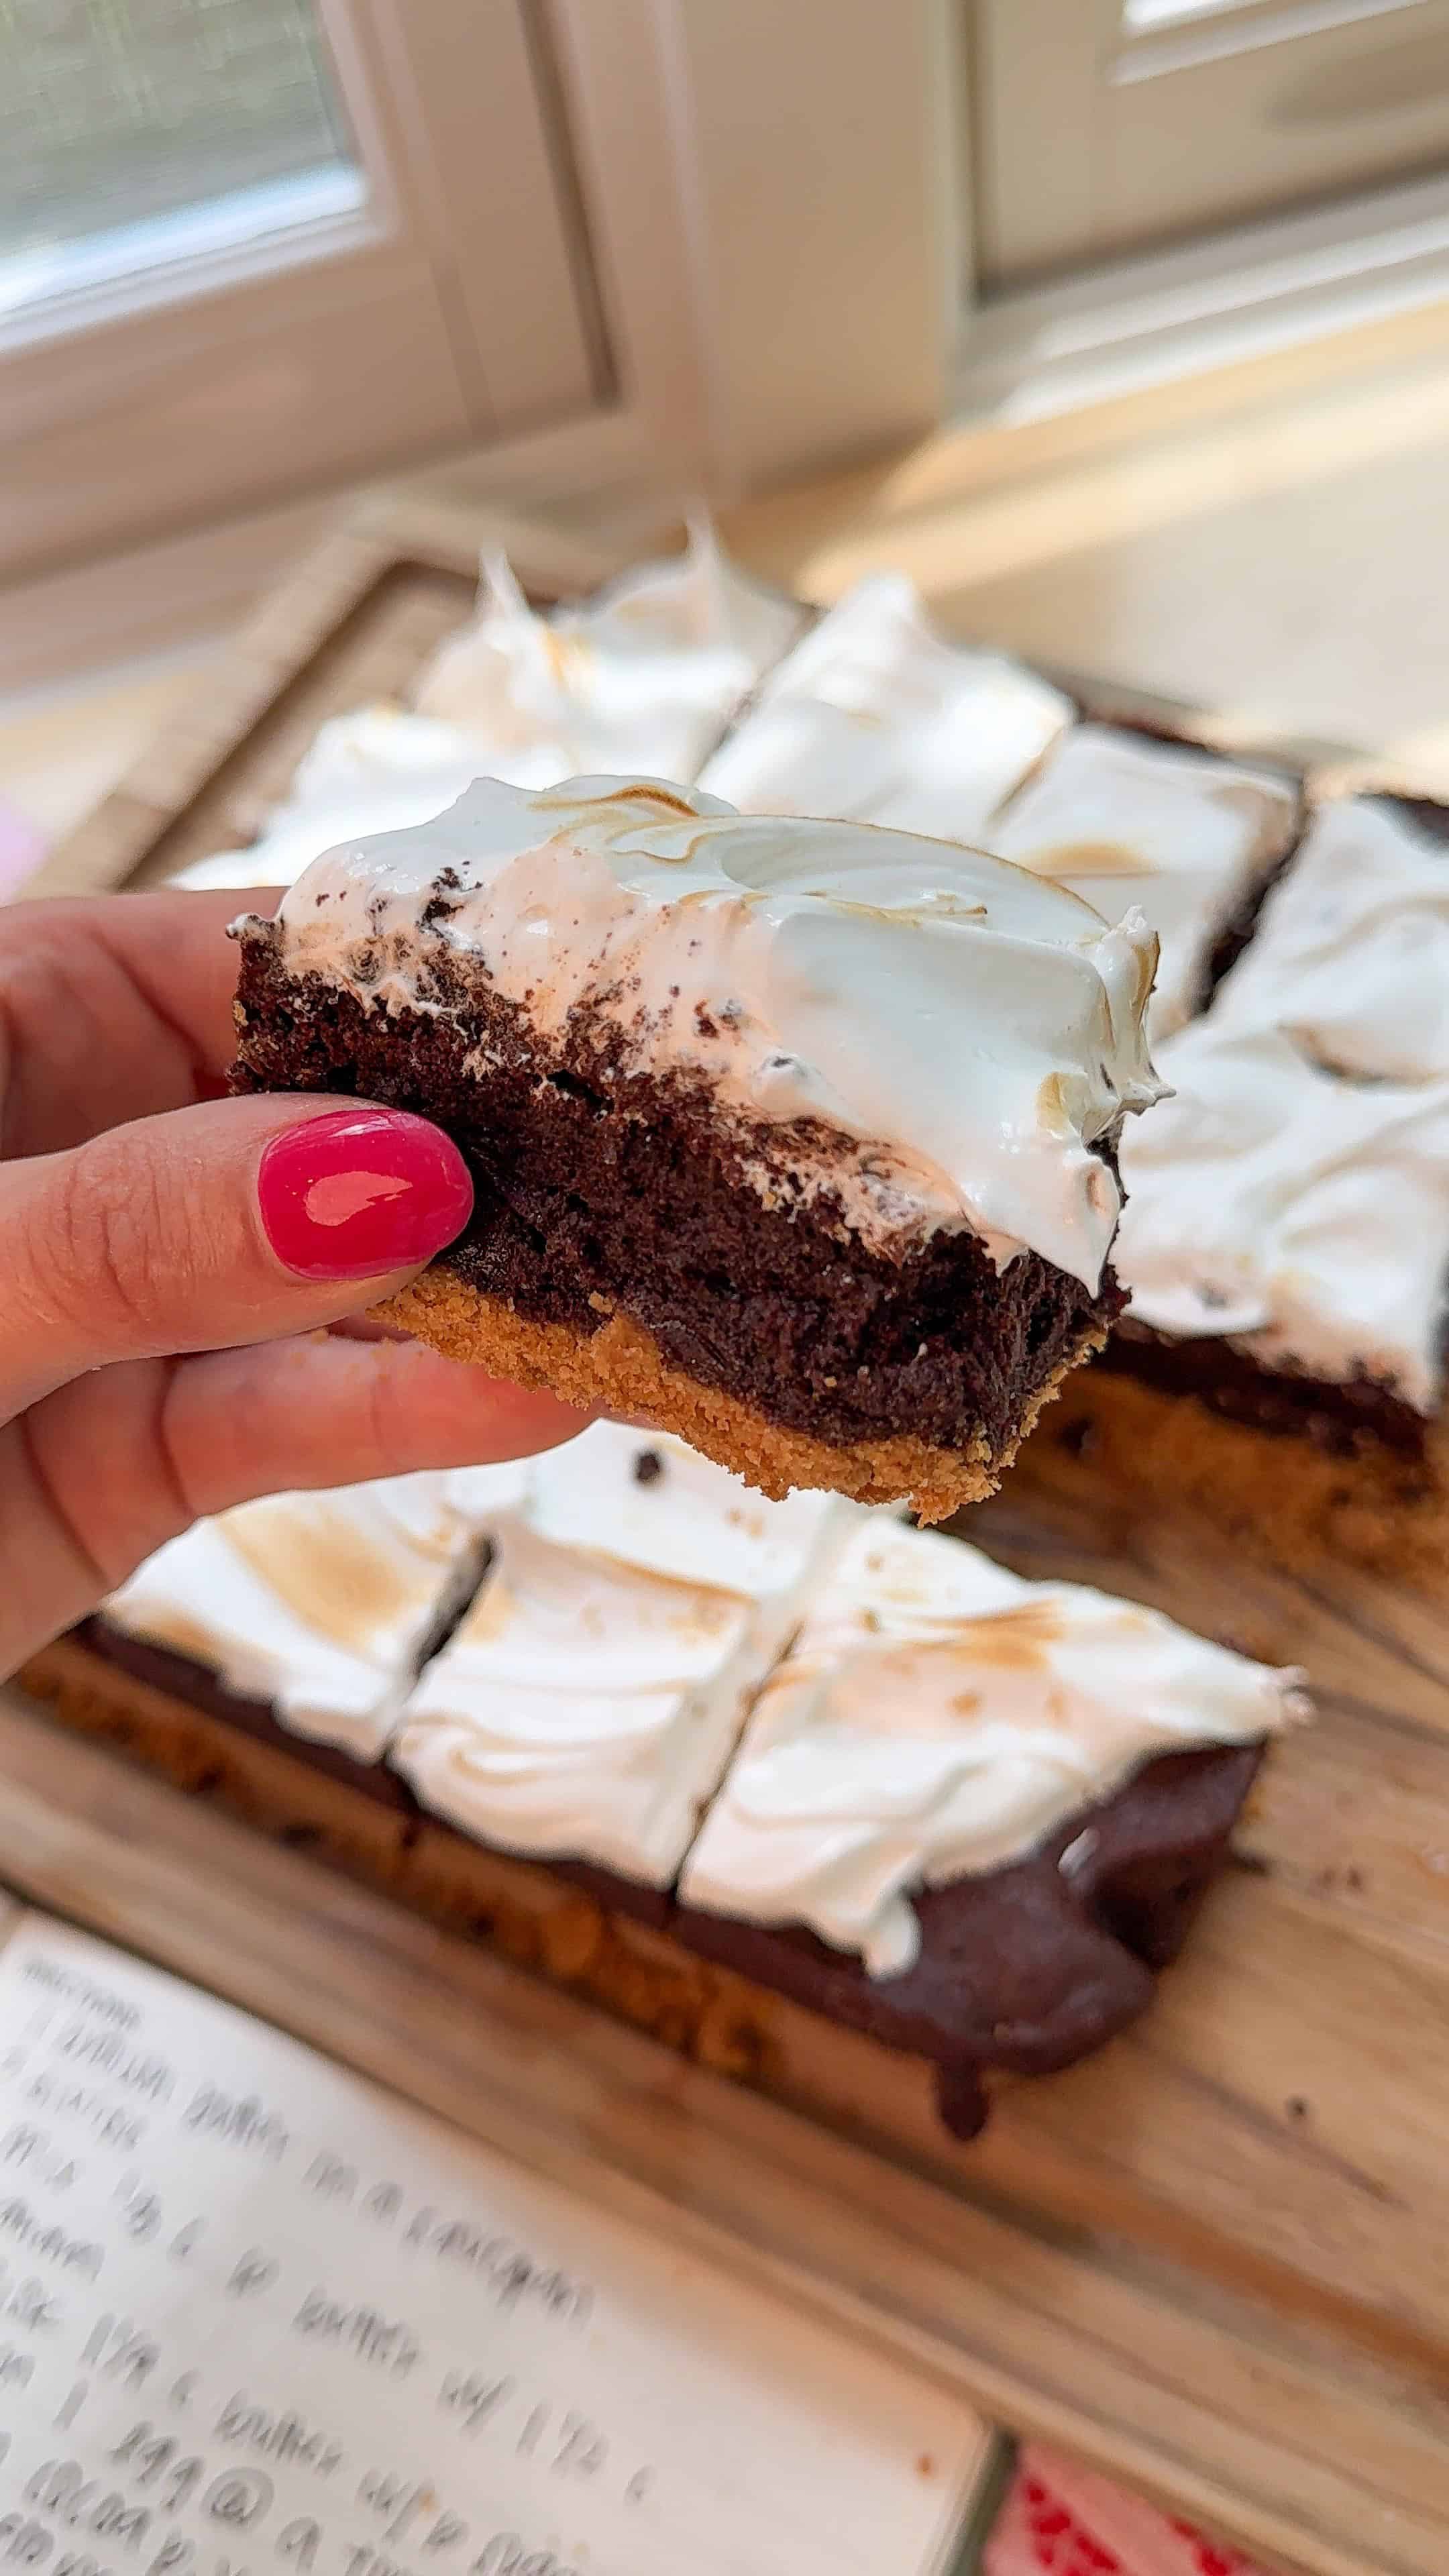
Let’s be real for a second: I didn’t need a kitchen torch… but I definitely bought one just for this recipe. And honestly? No regrets. These Brown Butter S’mores Brownies are that kind of dessert—the kind that turns your kitchen into a gourmet campfire, minus the bug spray and questionable logs.
We’re talking layers here: a buttery graham cracker crust (hi, crunch), a rich, fudgy brown butter brownie center (hello, gooey chocolate heaven), and a homemade marshmallow cream frosting that gets perfectly toasted on top. Yes, I said homemade. Yes, it’s worth it. And yes, you’ll feel like a marshmallow wizard when you pull it off.
I made these for my family’s Father’s Day dinner and they were gone faster than you can say “just one more bite.” My brother declared it the best dessert I’ve ever made (again… he says that every time, but still).
So grab your torch (or your broiler), and let’s get nostalgic. These brownies are summer in bar form, and I promise—they’re next-level s’more magic. ✨

Ingredients:
Crushed Graham Crackers
This forms the chewy, nostalgic base that gives major campfire s’mores energy. The crushed crackers soak up the melted butter like a dream, creating a sturdy but tender crust. It gives that toasty, honey-sweet flavor that complements the fudgy brownie layer so well. Honestly, it’s the perfect throwback bite.Melted Unsalted Butter (for the crust)
This is what binds those graham cracker crumbs together and makes them buttery and rich without going overboard. It adds just enough fat to help everything stick and bake into a golden, cohesive layer. I love how it doesn’t overpower the sweetness—just enhances it.Unsalted Butter (for browning)
This is the secret weapon in this recipe. Browning butter transforms it into something so magical—nutty, caramelized, and full of flavor. It gives the brownie layer so much richness and depth, way more than regular melted butter ever could. It’s the kind of ingredient that makes people go, “Wait… what is that delicious flavor?!”Light Brown Sugar
This adds moisture and brings that warm, almost butterscotch-y vibe to the brownies. Because of the molasses in it, it helps keep the brownies soft and chewy instead of dry. It also pairs perfectly with the browned butter to deepen the flavor.Granulated Sugar (for the brownie batter)
Classic white sugar is what gives the brownies their structure and that crisp, shiny top everyone loves. It melts into the batter and caramelizes just enough during baking to bring sweetness and a little crackle. It’s the balance to the richer brown sugar.Eggs
These are the glue that hold everything together and give the brownies their rich, fudgy texture. They emulsify the batter, help it bake up just right, and make each bite super satisfying. You add them one at a time to keep the mixture smooth and luscious.Cocoa Powder
This is where the deep chocolate flavor comes from. It’s bold, unsweetened, and totally essential for that rich, brownie base. It also thickens the batter just slightly, helping everything bake into dense, fudgy perfection.Salt
Just a pinch makes a big difference! Salt helps balance all the sweetness and brings out the full depth of the chocolate flavor. Without it, the brownies would taste flat—this makes everything pop.All-Purpose Flour
Flour gives the brownies structure, but we don’t want too much or we risk cakiness (and we are NOT going for cake here). Just enough flour helps hold everything together while still keeping that gooey, rich texture. It’s a small amount for big impact.Egg Whites (for the frosting)
These whip up into the fluffiest, dreamiest marshmallow cream topping. They give the frosting structure and stability so it holds those beautiful peaks. It’s what makes this topping feel extra fancy and bakery-worthy.Granulated Sugar (for the frosting)
This sweetens the marshmallow cream and helps stabilize the egg whites while they whip. When dissolved properly, it gives the frosting that glossy, cloud-like texture. It’s what makes it taste like actual toasted marshmallow fluff.Cream of Tartar
This is a little baking science magic. It helps the egg whites whip to full volume and hold their shape without collapsing. Without it, your frosting might go flat—this keeps it fluffy and pillowy.Vanilla Extract
Vanilla adds that cozy, sweet background note that ties everything together. It makes both the brownie and the marshmallow cream taste warm and balanced. It’s the final little touch that makes these brownies taste like they came from a bakery.
What Is Brown Butter and How Do You Make It?
Brown butter (aka liquid gold) is just regular butter that’s been gently cooked until the milk solids toast and caramelize—creating the most insane, nutty, rich flavor. It takes something as simple as butter and transforms it into a deep, almost toffee-like magic that adds SO much depth to baked goods. If you’ve ever taken a bite of a cookie or brownie and thought, “What makes this taste so next-level?”—there’s a good chance it was brown butter doing the heavy lifting.
Equipment You’ll Need
9×9-inch baking dish – The perfect size for thick, bakery-style brownies with that gorgeous layered look; make sure it’s lined or greased well so nothing sticks.
Saucepan – Essential for browning the butter to golden, nutty perfection—it’s the flavor upgrade you didn’t know brownies needed.
Mixing bowls – You’ll need both a large and medium bowl to keep the brownie batter and marshmallow cream layers easy and mess-free.
Mixing tools – A sturdy spatula and whisk are musts, plus a handheld or stand mixer makes whipping up that fluffy marshmallow topping a breeze.
Double boiler setup – A heatproof bowl over simmering water gently heats your egg whites for safe, silky marshmallow cream.
Handheld kitchen torch – For the ultimate dramatic finish with perfectly toasted marshmallow swirls (or use your oven broiler in a pinch!).
Measuring cups/spoons or kitchen scale – Accuracy matters for that perfect brownie texture, so grab your favorite method and measure with confidence.
Toothpick – A quick test with this tells you when your brownies are fudgy perfection—not underdone or dry.
Substitutions & Modifications
-
Gluten-Free: Substitute 1-to-1 gluten-free flour blend.
-
Dairy-Free: Use vegan butter and dairy-free chocolate (ensure vegan).
-
Sugar Swaps: Replace granulated sugar in base with coconut or date sugar, but reduce browning time—they can burn faster.
-
Mini Toasted Marshmallows: Skip frosting and top brownies with ¾–1 cup mini marshmallows, broil 30–60 seconds for classic toasted tops.
- Melted Butter: If you do not want to take the extra step with brown butter, then melted butter works just fine!
Next-Level Brown Butter Smores Brownies with Homemade Marshmallow Frosting
Ingredients
- 11/2 cups crushed graham crackers
- ⅓ cup unsalted butter, melted 5 tablespoons + 1 teaspoon
- 11/4 cups unsalted butter, for browning 2½ sticks
- 11/2 cups light brown sugar, packed
- 1 cup granulated sugar
- 4 large eggs
- 11/2 cups unsweetened cocoa powder
- ¼ teaspoon salt
- ⅔ cup all-purpose flour
- 3 large egg whites
- ¾ cup granulated sugar
- ¼ teaspoon cream tartar
- 1 teaspoon pure vanilla extract
Instructions
- Prep Your Pan & OvenPreheat your oven to 350°F (175°C). Line a 9×9-inch metal or glass baking pan with parchment paper, leaving a bit of overhang for easy lifting later. If you’re not using parchment, make sure to grease your pan well with nonstick spray or butter—especially in the corners. Set aside while you make your crust.
- Make the Graham Cracker CrustIn a medium bowl, combine crushed graham crackers with melted unsalted butter. Stir until the crumbs are fully coated and the mixture resembles wet sand. Pour this into your prepared pan and press it down firmly using the back of a measuring cup or a clean hand—this helps form an even, tight crust that won’t fall apart later. Place the pan in the fridge while you move on to the brownie batter (this helps the crust set before baking).
- Brown the ButterAdd your unsalted butter to a light-colored saucepan (this helps you see when it’s browning) and melt it over medium-low heat. Once fully melted, start swirling or stirring continuously. The butter will foam and sizzle as the water cooks off, then you’ll notice golden brown specks forming on the bottom and a toasty, nutty smell—this is what you want. This process takes about 5–10 minutes, but don’t rush it—burned butter happens fast! Once it’s a deep amber brown and smells heavenly, remove the pan from heat and let it cool for 5–10 minutes.
- Make the Brownie BatterOnce your browned butter is slightly cooled (you want it warm, not hot), pour it into a large mixing bowl. Add both the light brown sugar and granulated sugar, whisking until the mixture is fully combined and glossy. Add the eggs one at a time, whisking well after each addition. This helps create that rich, fudgy texture we’re going for. Stir in the vanilla extract. Using a spatula or wooden spoon, fold in the cocoa powder and salt until fully incorporated—no dry streaks should remain. Finally, gently fold in the all-purpose flour just until combined. Try not to overmix here; we want dense, moist brownies, not cakey ones.
- Bake the BrowniesRemove your crust from the fridge and pour the brownie batter directly over it. Use a spatula to gently spread the batter to the edges and smooth the top. Bake the brownies in your preheated oven for 45–55 minutes. You’ll know they’re done when a toothpick inserted into the center comes out mostly clean, with a few moist crumbs attached (you don’t want raw batter, but a little goo is good!). The top should look set and have those signature shiny cracks.
- Cool CompletelyAllow the brownies to cool completely in the pan on a wire rack. This is key—if they’re still warm, the marshmallow frosting will melt and turn soupy. I usually cool them for at least an hour or two before frosting. You can even pop the whole pan in the fridge to speed it up.
- Make the Marshmallow Cream FrostingSet up a double boiler: Fill a small saucepan with about an inch of water and bring it to a simmer. Place a heatproof mixing bowl (glass or metal) over the top, making sure the bottom of the bowl doesn’t touch the water. In the bowl, add your egg whites, granulated sugar, and cream of tartar. Whisk constantly for about 4 minutes, or until the sugar is fully dissolved and the mixture is warm to the touch (about 160°F if you’re using a thermometer). Once warm and smooth, transfer the mixture to a stand mixer (or use a handheld mixer) and beat on high speed for about 5 minutes until stiff, glossy peaks form. Add the vanilla extract and beat briefly to combine.
- Frost & ToastOnce the brownies are fully cooled, dollop the marshmallow cream over the top and spread it into an even layer using an offset spatula or the back of a spoon. For the magic moment: use a handheld kitchen torch to toast the top until it’s golden brown and caramelized, just like a campfire marshmallow. If you don’t have a torch, you can skip the homemade cream and use regular or mini marshmallows—just pop them on top and broil for 30–60 seconds (watch closely!) until perfectly toasted. Do not broil the homemade marshmallow cream—it will melt into a puddle.
- Slice & ServeOnce the frosting is set, use the parchment paper to lift the brownies out of the pan. Slice into 16 squares using a sharp knife, wiping the blade clean between cuts for the cleanest results. Serve immediately or store as directed below!
Video
Nutrition
Tips & Tricks
-
Brown butter slowly—patience is key. Swirl gently and keep heat at medium-low to avoid burning. A nutty aroma signals it’s perfect.
-
Cool before mixing—let browned butter cool ~5–10 minutes to avoid cooking eggs prematurely.
-
Room-temperature eggs blend better, giving uniform texture.
-
Don’t overmix the flour—fold gently to keep brownies fudgy, not cakey.
-
Torch safely—if using a handheld kitchen torch, keep a low flame and move continuously. Only use a broiler if you’re toasting mini marshmallows (watch closely).
Storage Instructions
-
Storage: Room temperature for 2 days, lightly covered. Refrigerate up to 5 days.
-
Freezer: Store in an airtight container for up to 3 months.
-
Reheat: Gently microwave individual squares for 8–10 seconds to soften; torch frosting lightly after if frosting was stored torched.
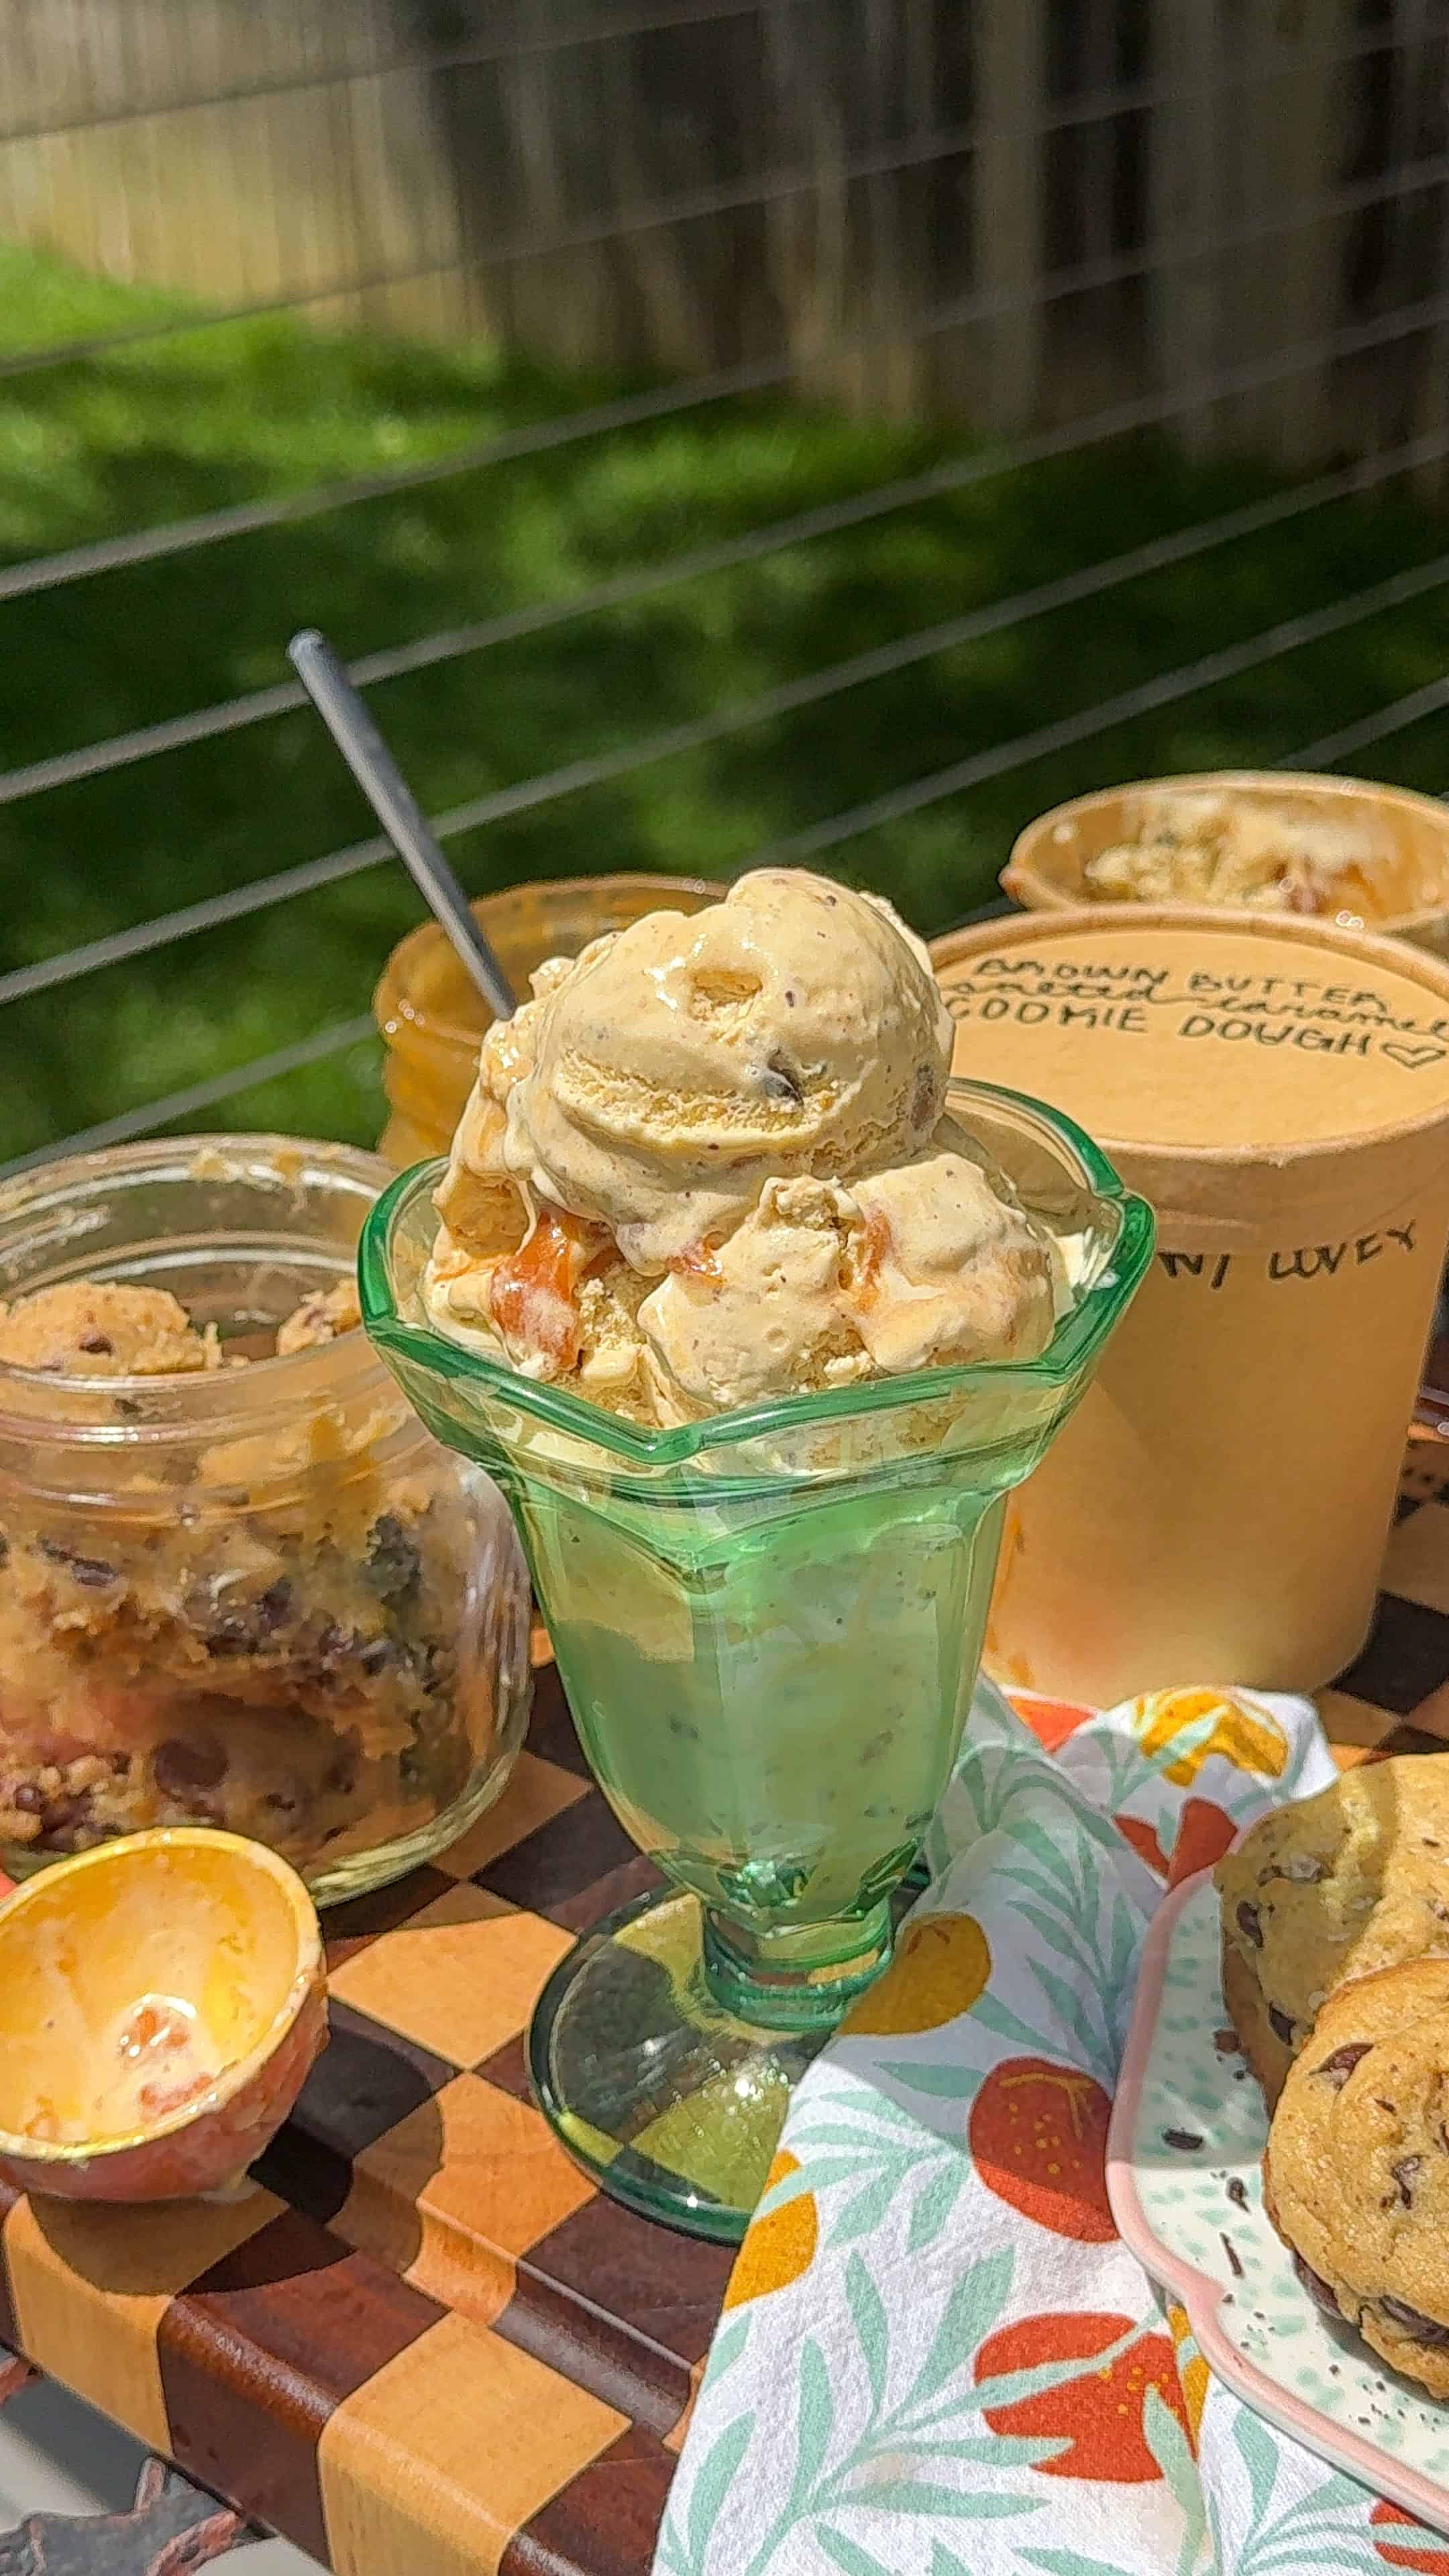
More of my recipes
Do you LOVE S’mores?! Check Out More of my AMAZING S’mores Recipes:Browned Butter Smores Chocolate Chip Cookies Recipe (With VIDEO) Mini Smores Cookie Cups Recipe The Best Smores Stuffed Chocolate Chip CookiesConclusion
These Brown Butter S’mores Brownies blend nostalgia and elegance—gooey s’mores meets fudgy brownies with dreamy homemade marshmallow frosting. They take a bit of prep but yield jaw-dropping results that feel totally worth it. Plus, torching the frosting? Chef’s kiss 🔥
Ready to impress your family and feed your sweet tooth? Bake these beauties this weekend and share your gooey, torch‑topped creations with me! And don’t forget to tag your post with #NextLevelSmoresBrownies—can’t wait to see them!


Leave a Reply Cancel reply