
You know that moment when you walk into someone’s house and smell fresh apple pie baking? That warm, cinnamon-spiced aroma that makes you feel like you’re home? That’s exactly what I wanted to capture with this recipe. This isn’t just any apple pie (you only live once, right?) but a MASTERPIECE with an all-butter pie dough that delivers perfectly flaky, buttery layers every single time.
I’ve been making apple pie for years, but I finally cracked the code on what makes it absolutely LEGENDARY. The secret? A combination of Granny Smith and Honeycrisp apples that balance tartness with sweetness, plus that all-butter crust that just melts in your mouth. Every bite is pure perfection, and honestly, if you’re not topping it with vanilla ice cream and homemade salted caramel, are you even living your best life?
This pie is perfect for fall gatherings, cozy weeknight desserts, or literally any time you want to impress people. It’s the kind of dessert that has everyone asking for your recipe (which, of course, is this one!).
P.S. The key to a FLAKY crust is keeping everything cold, cold, cold! Don’t skip the chilling steps, and make sure your butter is absolutely ice-cold before pulsing.

Ingredients Needed
- All-Purpose Flour: The backbone of your pie crust and filling. You’ll use it twice here for a total of two and three-fourths cups. The flour in the crust creates structure and flakiness, while the flour in the filling thickens the apple juices so they don’t run all over your plate.
- Granulated Sugar (crust): Just one tablespoon added to the dry ingredients in the crust. This tiny bit sweetens the dough ever so slightly without making it overly sugary, letting the butter really shine through.
- Fine Sea Salt: One teaspoon in the crust to enhance all the flavors and make the butter taste even MORE buttery. Salt is your secret weapon in baking, trust me.
- Cold Unsalted Butter: One full cup in the crust, cubed and ice-cold. This is what creates those gorgeous flaky layers everyone dreams about. The cold butter creates steam pockets that separate the dough as it bakes. Plus one-quarter cup for the filling to coat those gorgeous apples in buttery, spiced deliciousness.
- Ice-Cold Water: Six to eight tablespoons, added gradually until your dough just comes together. This hydrates the flour so it can develop just enough gluten for structure, but not so much that it gets tough.
- Apples: Seven to eight cups, which is about eight medium apples total. I used four Honeycrisp for sweetness and four Granny Smith for tartness, creating the perfect balance. You want a mix so every bite has complexity and flavor depth.
- Light Brown Sugar: One-half cup to coat those apples in warmth. The molasses in brown sugar adds a subtle depth that granulated sugar can’t match, making your filling taste like fall in a bite.
- Cinnamon: One and one-half teaspoons of warm, cozy spice. This is the star of your filling, bringing that apple pie flavor everyone craves.
- Nutmeg: One-half teaspoon to add a subtle earthiness and complexity. It’s not about tasting nutmeg specifically, it’s about making people say “what IS that amazing spice blend?”
- Lemon Juice: One teaspoon to brighten up the apples and keep them from browning. It also enhances all the other flavors without tasting lemony.
- Egg: One large egg, whisked with a splash of water for the egg wash. This creates that gorgeous golden-brown, shiny top that looks absolutely BAKERY QUALITY.
- Coarse Sugar: About one tablespoon (optional but highly recommended!). This adds a delightful crunch and sparkle to your crust. I’m obsessed with the texture contrast.
Substitutions and Modifications
- Apple varieties: Any crisp, tart apples work beautifully. Fuji, Pink Lady, or Braeburn are all excellent choices. Stick to 50/50 sweet and tart for best results.
- Dairy-free: Substitute the butter with a high-quality vegan butter (keep it cold!) and use aquafaba or plant-based milk mixed with cornstarch for the egg wash.
- Brown sugar: Light or dark brown sugar work the same. Dark brown will make your filling slightly darker and more molasses-forward.
- All-butter crust: This recipe is specifically designed for all-butter flavor, but you can use a mix of butter and cold shortening (50/50) if you prefer an even CRISPIER crust.
Why You’ll Love This Recipe
- The all-butter pie crust is FLAKY, buttery, and absolutely melt-in-your-mouth delicious every single time.
- The two-apple blend creates the perfect sweet-tart balance that makes people go absolutely crazy for this pie.
- It’s a showstopper dessert that looks fancy enough for Thanksgiving but is actually totally manageable to make at home.
Equipment Needed
- Food processor
- Large mixing bowl
- Saucepan (large)
- 9-inch pie pan
- Pie dough roller or rolling pin
- Parchment paper or plastic wrap
- Pastry brush for egg wash
- Apple peeler and corer (or a good knife)
- Cutting board
- Aluminum foil (for shielding if needed)
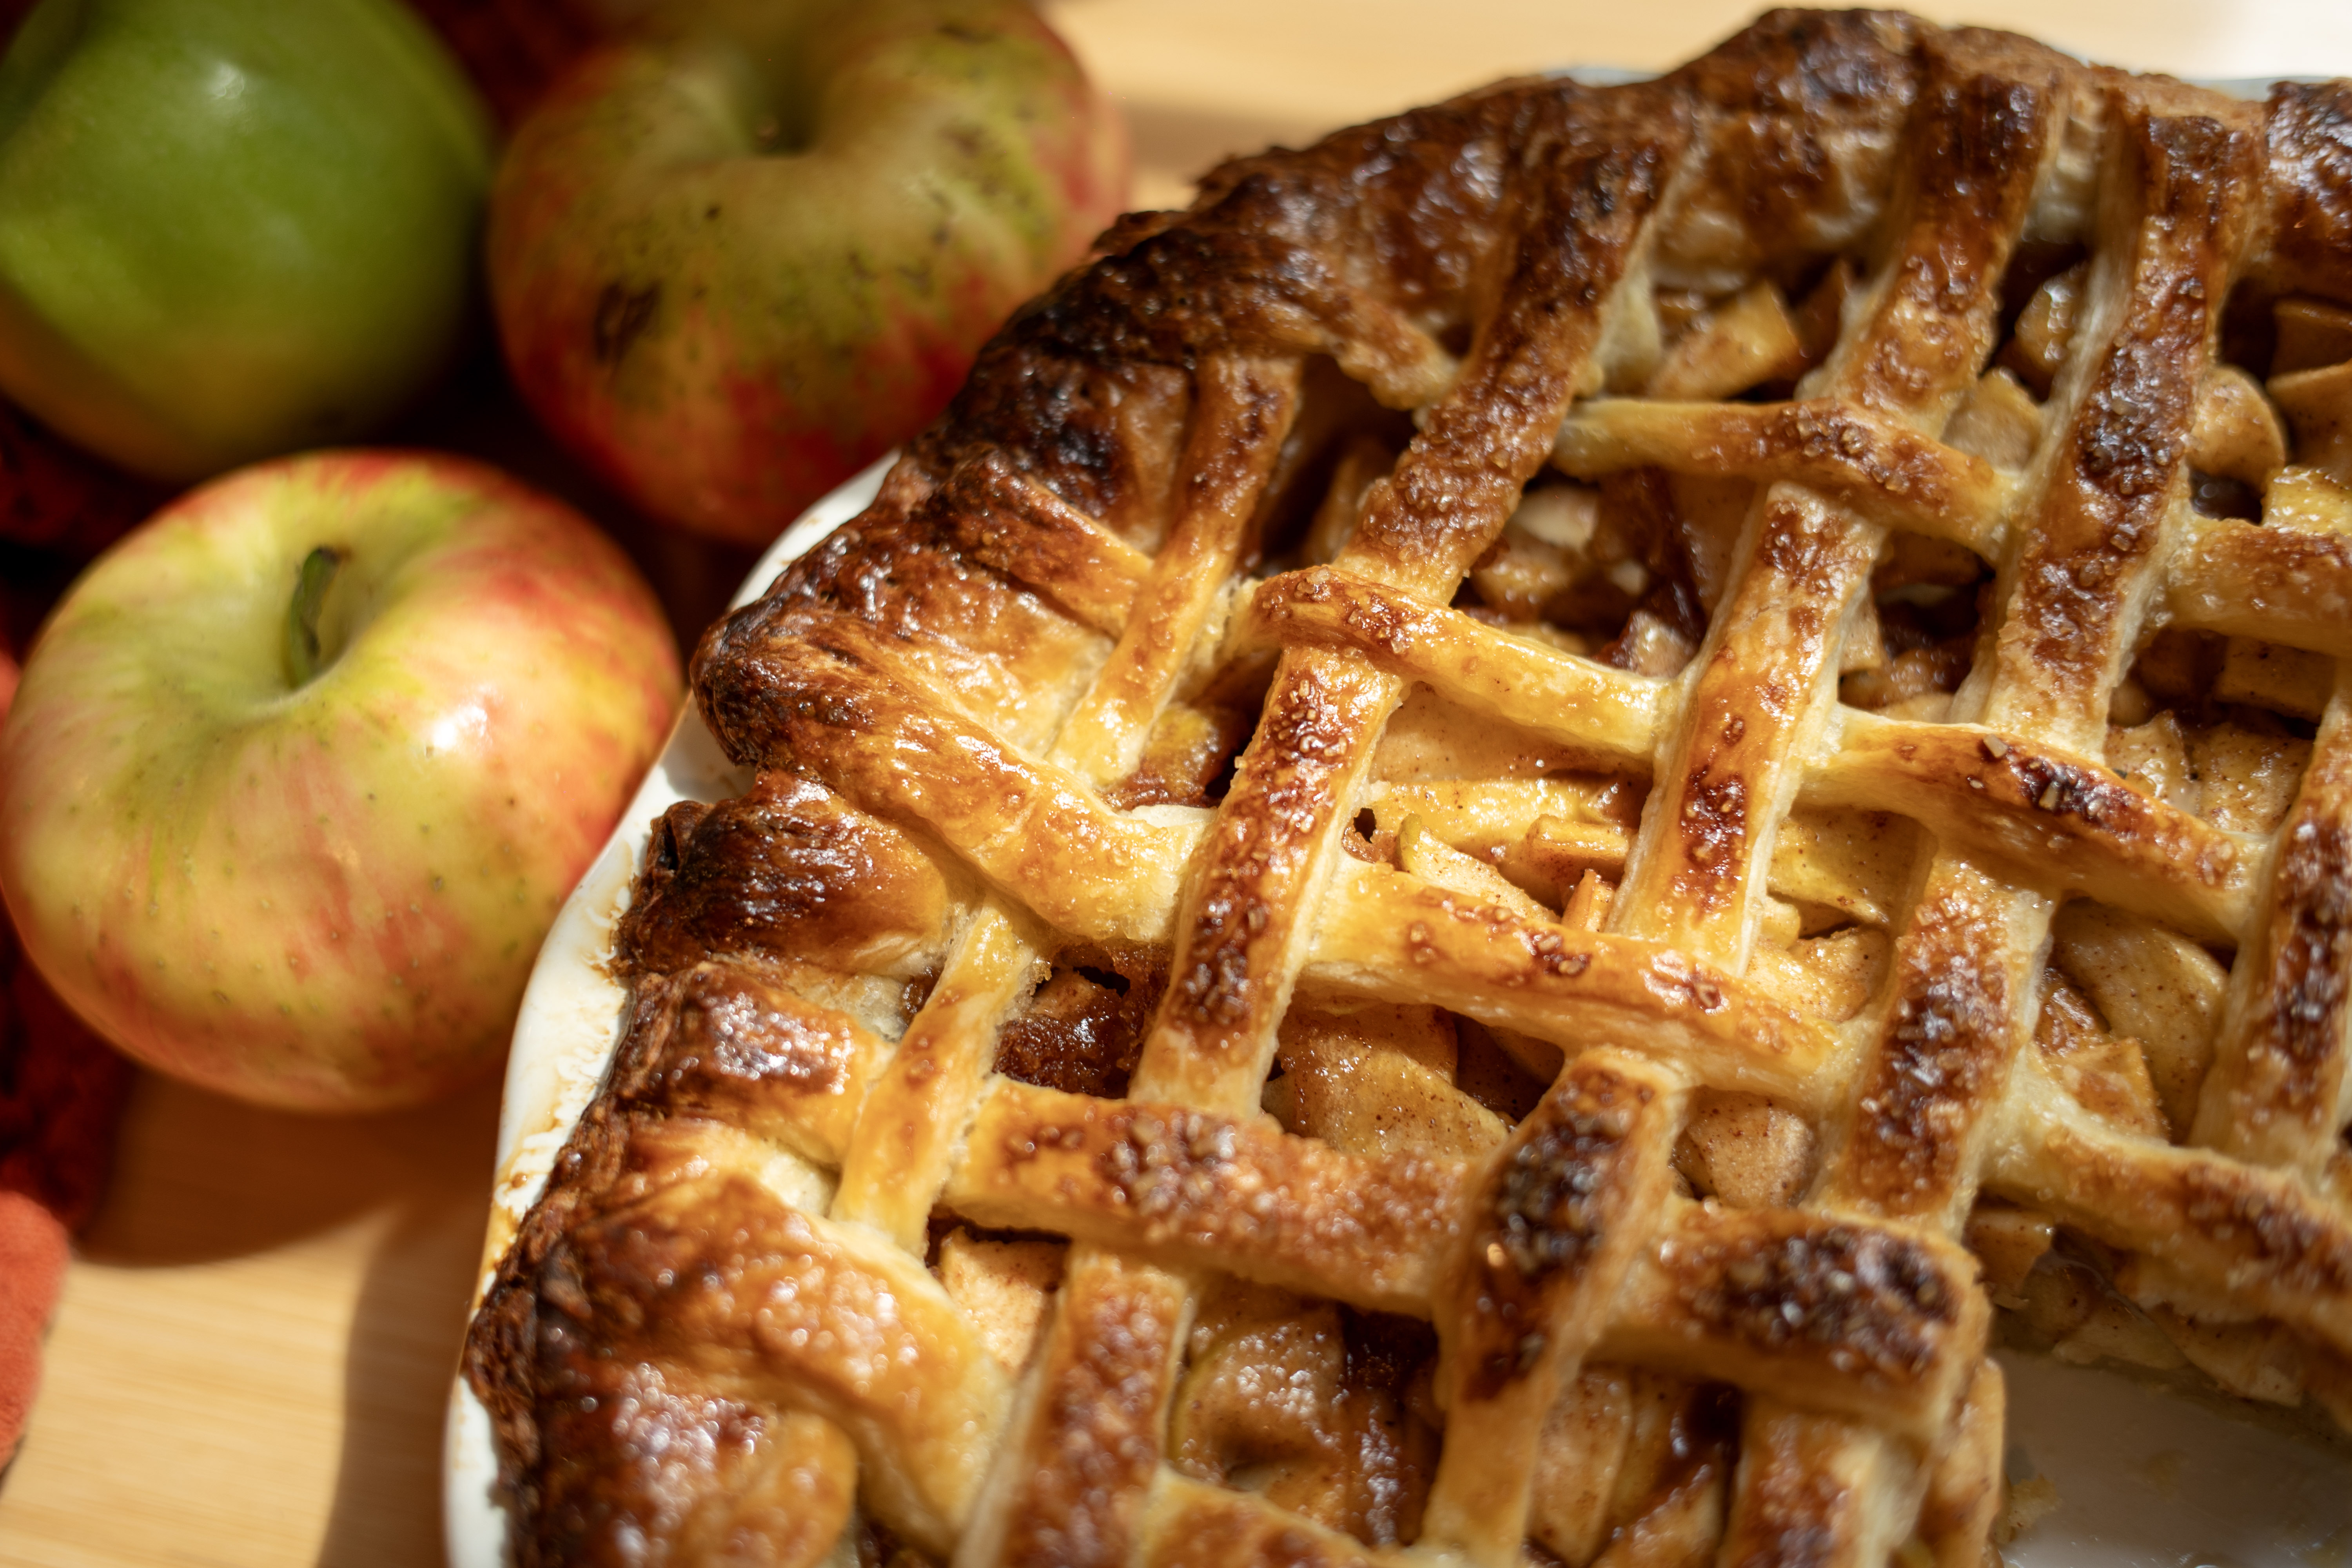
Best Homemade Apple Pie Recipe: Flaky All-Butter Crust
Ingredients
For the Crust:
- 2 ½ cups all-purpose flour
- 1 tablespoon granulated sugar
- 1 teaspoon fine sea salt
- 1 cup unsalted butter, cold and cubed
- 6-8 tablespoons ice-cold water
For the Filling:
- 7-8 cups sliced apples about 8 medium apples; 4 Honeycrisp and 4 Granny Smith
- ½ cup light brown sugar
- ¼ cup all-purpose flour
- 1 ½ teaspoons ground cinnamon
- ½ teaspoon ground nutmeg
- 1 teaspoon fresh lemon juice
- ¼ cup unsalted butter
For Assembly:
- 1 large egg
- 1 tablespoon coarse sugar optional
Instructions
- In a food processor, pulse together the flour, sugar, and salt until combined.
- Add the cold cubed butter and pulse for about 15 seconds until the mixture is light pale yellow and resembles coarse breadcrumbs (you still want to see small pea-sized pieces of butter).
- Slowly add ice-cold water, one tablespoon at a time, pulsing between each addition until the dough is crumbly but just barely coming together (you may not need all 8 tablespoons).
- Turn the dough out onto parchment paper or plastic wrap and shape into a flat disc. Wrap it up and refrigerate for at least 30 minutes (or up to 2 days ahead).
- While the dough chills, peel your apples and thinly slice them into thin rounds. If the slices are large, cut them in half to make them easier to stack in the pie.
- In a large saucepan over medium heat, melt the butter with the brown sugar, cinnamon, and nutmeg. Let it bubble gently for about 2 minutes until fragrant.
- Sprinkle the flour over the butter mixture and stir until fully combined. The flour will create a beautiful paste-like coating that’s going to thicken everything perfectly.
- Add your sliced apples to the saucepan and gently toss them with the buttery, spiced flour mixture until every piece is coated in that gorgeous golden goodness.
- Sauté the apples for about 10 minutes, stirring occasionally, until they’ve softened slightly and released their juices. The filling will look slightly glossy and smell absolutely INCREDIBLE. Remove from heat and let cool slightly while you prep the crust.
- Preheat your oven to 400 degrees Fahrenheit.
- Remove your chilled dough disc from the fridge and place it on a lightly floured surface. Using a rolling pin, gently roll it out into a 12-inch circle. Transfer it to your 9-inch pie pan, pressing it gently into the bottom and sides. Let any excess hang over the edge.
- Pour your apple filling (including all those buttery, spiced juices!) into the pie crust. Don’t overfill; the apples will settle as they cook.
- Roll out your second dough disc to a 12-inch circle. You can either lay it flat over the filling and crimp the edges, or (my FAVORITE method) cut it into half-inch strips and create a beautiful lattice top. Stack strips in one direction, then gently fold back every other strip and lay strips in the opposite direction for that gorgeous woven look.
- If you’re using a full crust top, cut small vents in the center with a knife. Trim any excess dough and crimp the edges all the way around with a fork or your fingers.
- In a small bowl, whisk together the egg with 1 tablespoon of water. Brush the egg wash all over the pie crust (avoid the filling). Sprinkle with coarse sugar if desired.
- Place the pie on a baking sheet (to catch any drips) and bake at 400 degrees for 15 minutes.
- Reduce the oven temperature to 350 degrees and bake for an additional 45 minutes, until the crust is deep golden brown and the filling is bubbling gently around the edges. If the top is browning too quickly, tent it with aluminum foil for the last 15-20 minutes.
- Remove from the oven and let cool for at least 1 hour before slicing (this allows the filling to set so it doesn’t run everywhere).
- Serve with vanilla ice cream and homemade salted caramel for the ULTIMATE experience.
Storage Instructions
- Counter: Store in an airtight container for up to 2 days at room temperature. Cover loosely to let it breathe a little bit.
- Fridge: Keep it covered in the refrigerator for up to 4 days. It’s honestly amazing cold or reheated gently!
- Freezer: Wrap tightly in plastic wrap and then foil, and freeze for up to 3 months. Thaw overnight in the fridge before reheating.
Tips and Tricks
- Keep literally EVERYTHING cold when making pie dough. Cold hands, cold ingredients, cold workspace. This is the #1 secret to a flaky crust.
- Don’t skip the egg wash! It’s what gives your pie that gorgeous, bakery-quality golden-brown shine.
- If your pie crust is browning too quickly, tent it with aluminum foil. You want the filling to bubble around the edges but the crust to be perfectly caramelized, not burnt.
- Letting the pie cool for a full hour before slicing is NOT optional. I know it’s hard to wait, but it allows the filling to set so it actually slices cleanly instead of running all over your plate.
Frequently Asked Questions?
Q: Can I make the dough ahead of time?
A: Absolutely! Make it up to 2 days ahead and keep it wrapped in the fridge. You can also freeze dough discs for up to 3 months.
Q: What if I don’t have Honeycrisp apples?
A: Any sweet, crisp apple works! Fuji, Pink Lady, or Braeburn are all excellent choices. Just maintain that sweet-to-tart ratio.
Q: Can I use store-bought pie dough?
A: You totally can, but this all-butter homemade dough is seriously worth the effort. It’s the secret to why this pie is the BEST.
Q: Why is my pie filling runny?
A: Make sure you’re using enough flour to thicken it (one-quarter cup), and let the pie cool completely before slicing. If it’s still too runny, you may need to cook it a bit longer next time.
Q: Can I make a lattice if I’ve never done one before?
A: YES! It looks fancy but is honestly so easy. Cut strips, lay them in one direction, fold back every other strip, and weave the other strips through. It only takes a few minutes!
Q: Do I have to add the coarse sugar?
A: Nope, it’s optional! But I HIGHLY recommend it for that gorgeous sparkle and delightful crunch factor.
Do you LOVE Fall Baking?! Check Out MORE of my Favs:
Easy Salted Caramel Apple Oatmeal Cream Pies with Cream Cheese Frosting
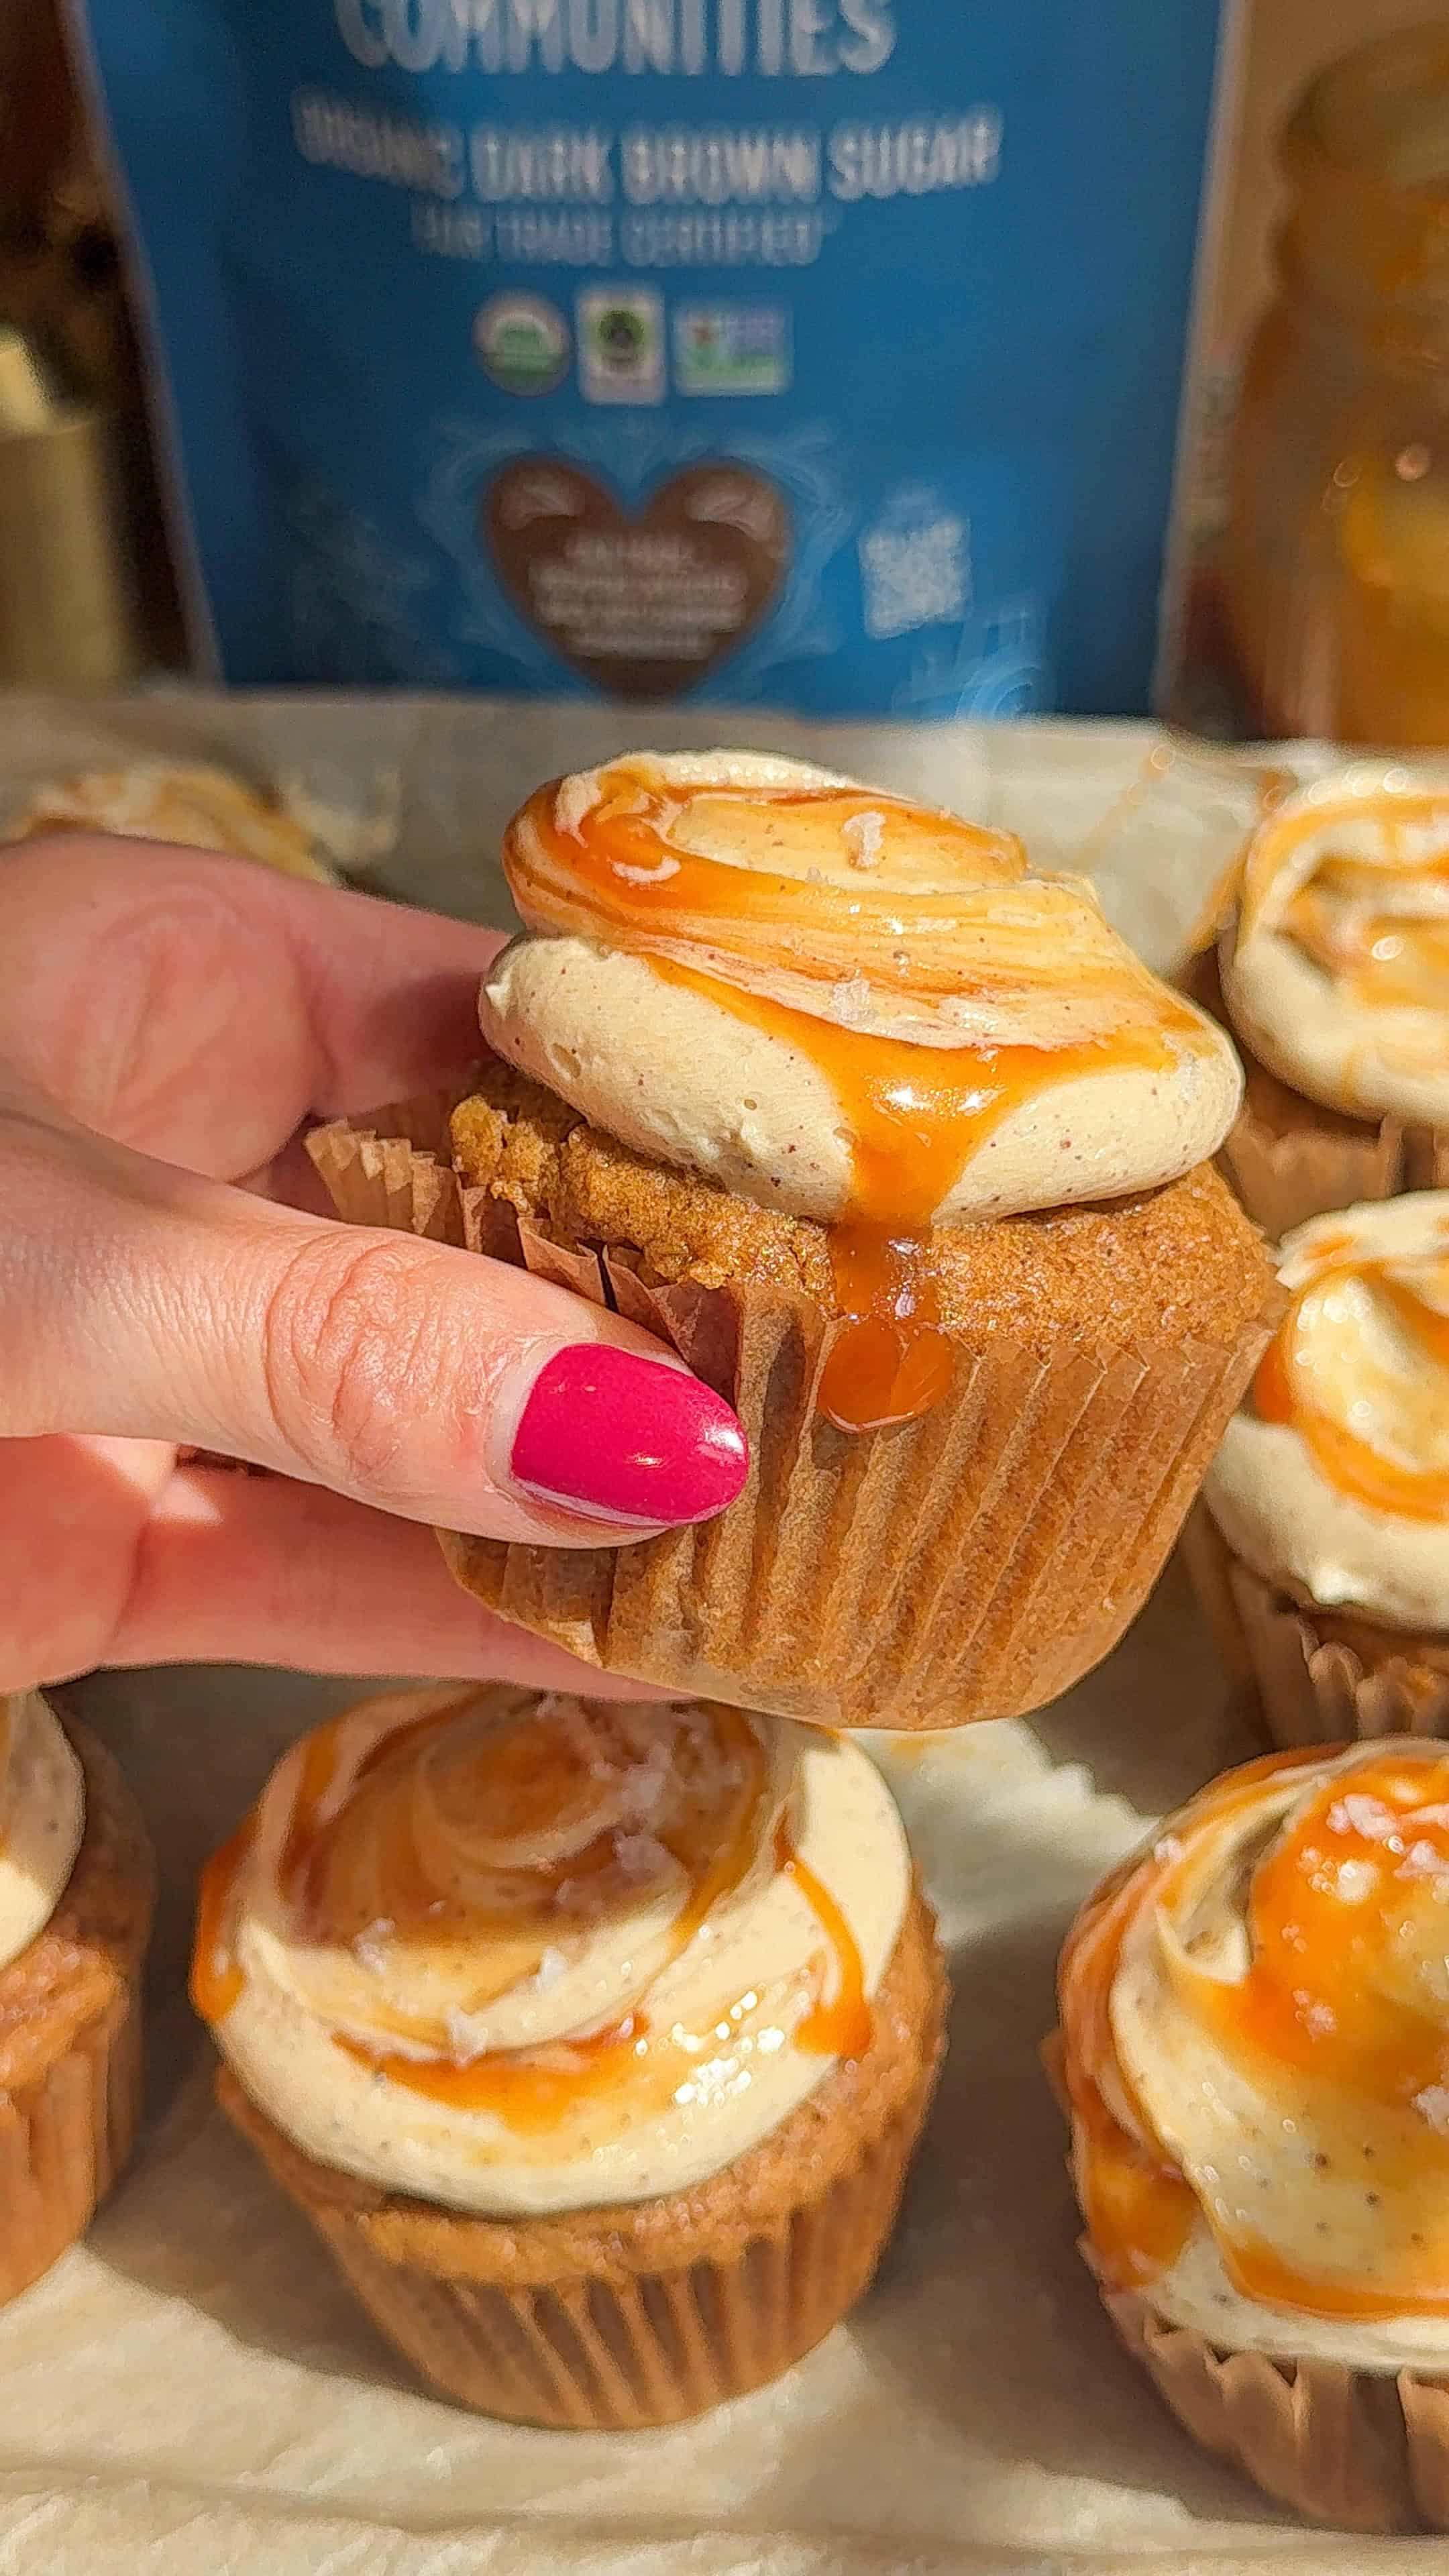
Brown Butter Pumpkin Cupcakes with Salted Caramel: Easy Fall Recipe
Salted Caramel Chocolate Chip Oatmeal Cream Pies
Ready to bake the BEST apple pie you’ve ever made? Tag me @munchiesbymallory on Instagram and TikTok so I can see your gorgeous creations! Trust me, this pie is about to become your new fall favorite.




Leave a Reply